
When we bought our house, it appealed to us in that it was older but still essentially a turn-key. The floors were polished and gleaming, the rooms were all freshly painted in a nice neutral vanilla shade, the deck was brand new. The only room that really required any true updating was the kitchen, which was fully functional, just dated.
 And although the kitchen was going to take a good amount of work, especially on our budget (which was very small), we were glad that the owners did not update it before they sold it. This way we were able to make it truly our own.
Like I said before, the kitchen was fully functional, and as ugly as those appliances were, gosh they worked good! haha. So good we had a hard time justifying running out and getting new ones. So we left the kitchen alone for almost a full year, going back and forth with ideas of what we could do. And then something happened that made us jump in head first into the reno: Chief tried to burn down our house.
Like many large breeds, Chief enjoys to jump. He likes to greet people by jumping up to look at them in the face (I know, I know, it’s awful. Trust me we’ve tried to work with him)…and he likes to counter surf. He’s always been very interested in the stove and the counters surrounding it, which of course have the controls in the front instead of the back. On numerous occasions Joey and I have watched him turn on the stove burners by jumping up and hitting the switch on his way down. Never the low direction of the dial either, always to the right for the high temperature side of the dial of course. But we were always there to catch it to fix it. Until one night, about two weeks before his surgery, when Chief turned on our stove without us even realizing it. It was a Friday night, and we were watching a movie in the living room, and sometime during one of Chief’s walkabouts around the house, he jumped up and turned the stove on full blast without us even noticing it. The bad news was there was a piece of cabinet trim that we had removed as an experiment that was sitting on top of that burner.
Not too long after, Joey stood up to get a beverage, and he smelled the smoke. When he got to the kitchen the piece of trim had just started to have flames coming off of it. Luckily he got it out without anyone being injured, but it coated our entire house with a layer of black smoke, and produced a nice big crack in the glass cooktop.
Luckily the trim was not a piece that we would ever need, it was just the bottom cover for the drop in stove. So at that point we decided that the drop-in stove was not only a hazard with the puppies, but also potentially a hazard for future kids, so we decided to buy a new freestanding stove. Haha, let me rephrase, Joey’s parents bought us a new stove as an anniversary gift. 🙂
And we’d been looking for awhile, so we knew the perfect one to order. A new LG model that had flat buttons controls on the BACK of the stove top, glass cooktop, and a 6.4 c.u. oven, it was gigantic inside! So that meant we had to figure out how to convert the space from a drop-in to a freestanding one.
After getting a quote from a pro that was over $450 to convert the space, we called in for assistance from my dad, who came in to save the day!
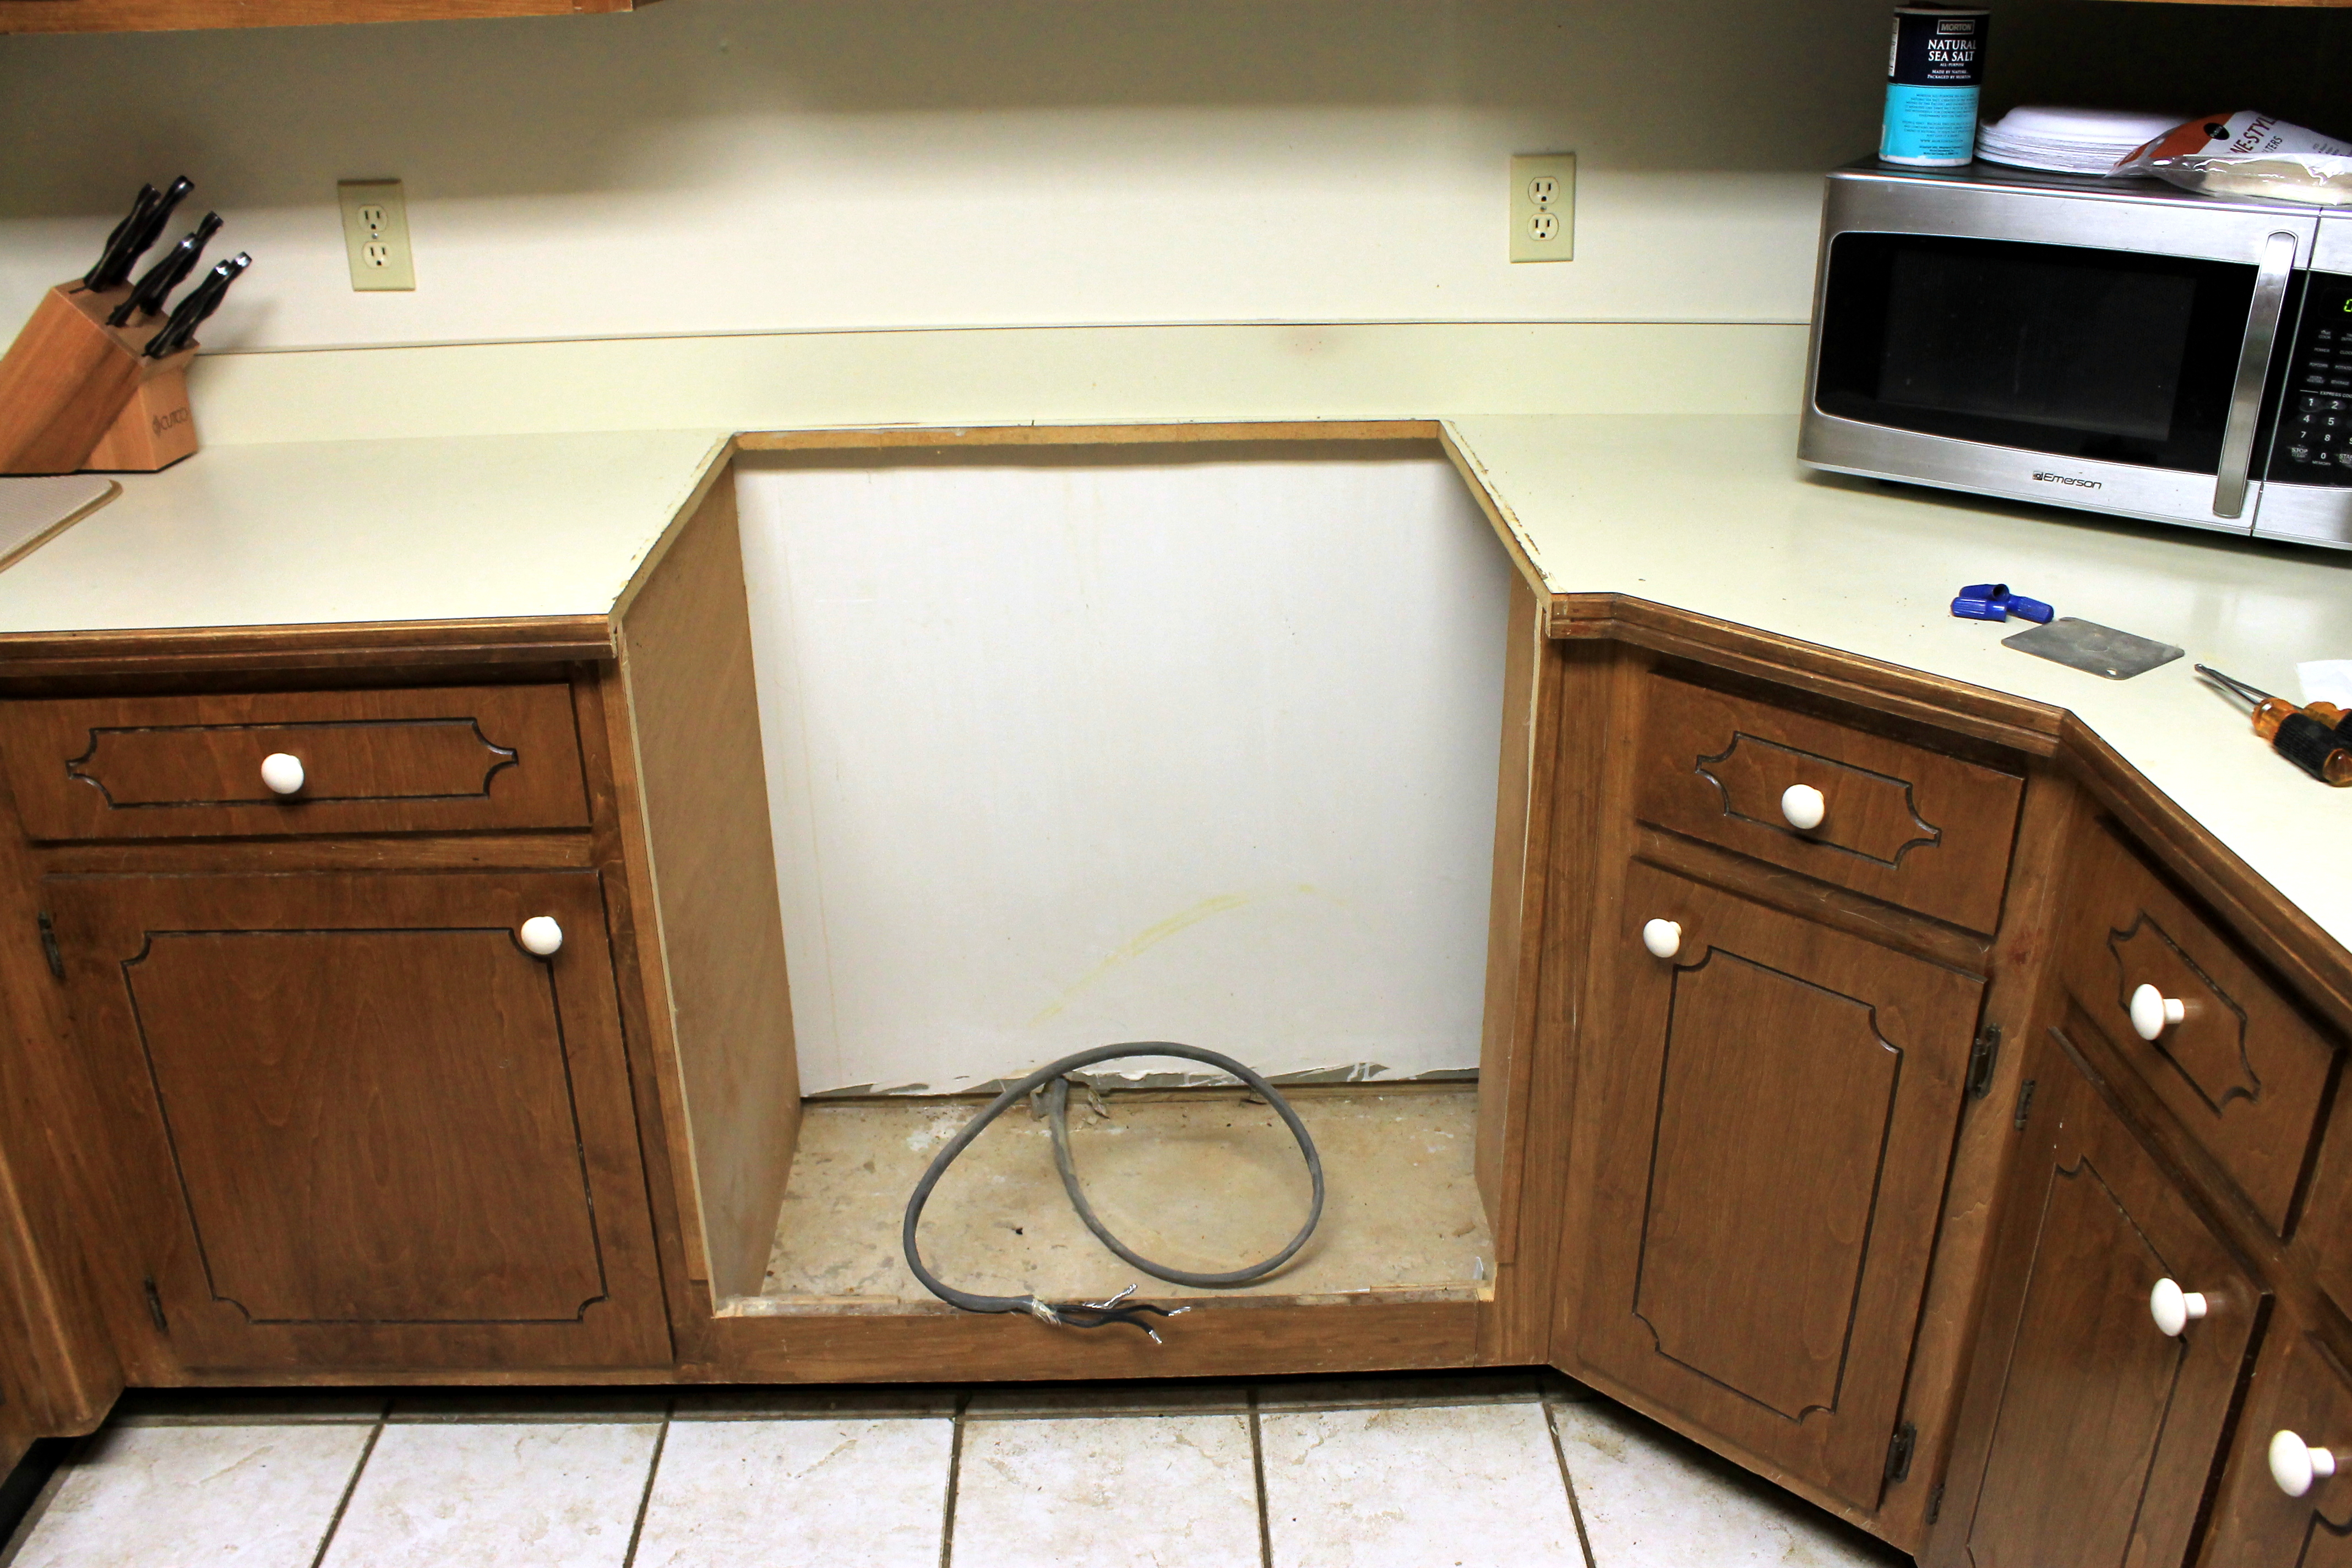 The first step was to cut out the bottom portion of the cabinet. Like so below:
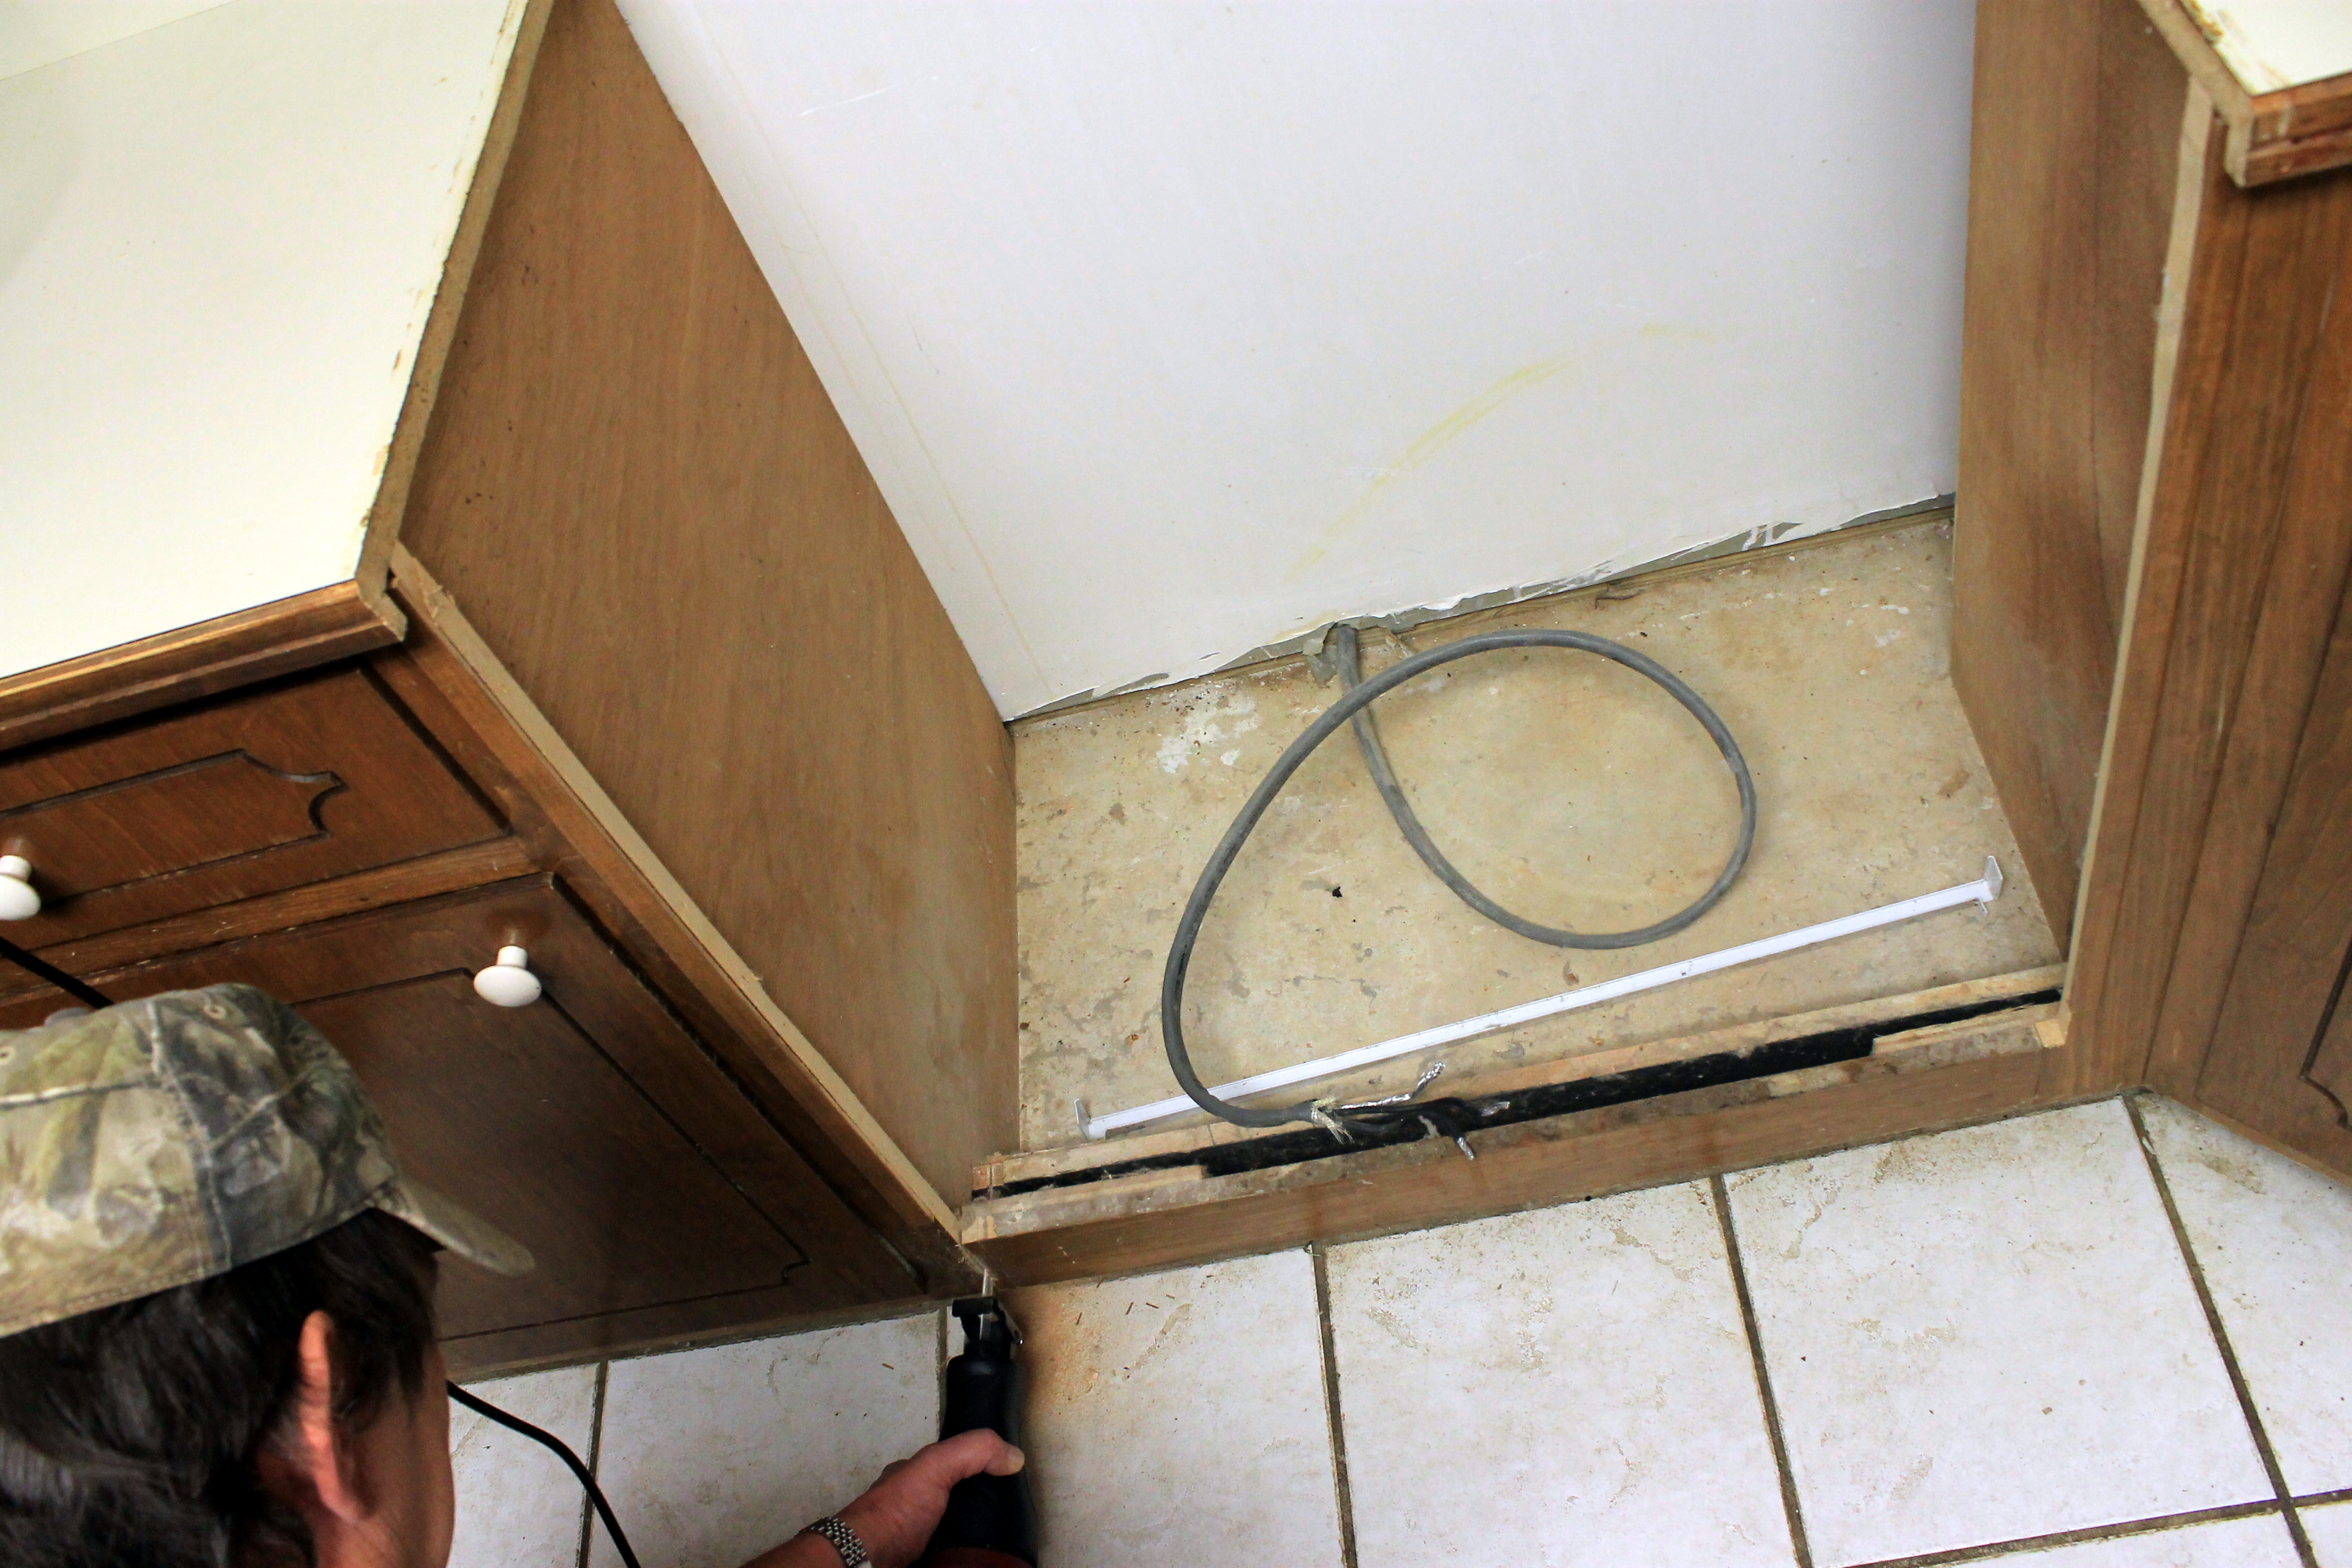 He made it look really easy, but there is no chance I would have attempted that, my hands are nowhere near steady enough! The next step was to remove the backsplash.
 He placed a piece of duck tape there before he made the cut to keep the countertop from splintering. We tried to use frog tape first, but it didn’t have the right amount of stickiness, duck tape did the trick perfectly!
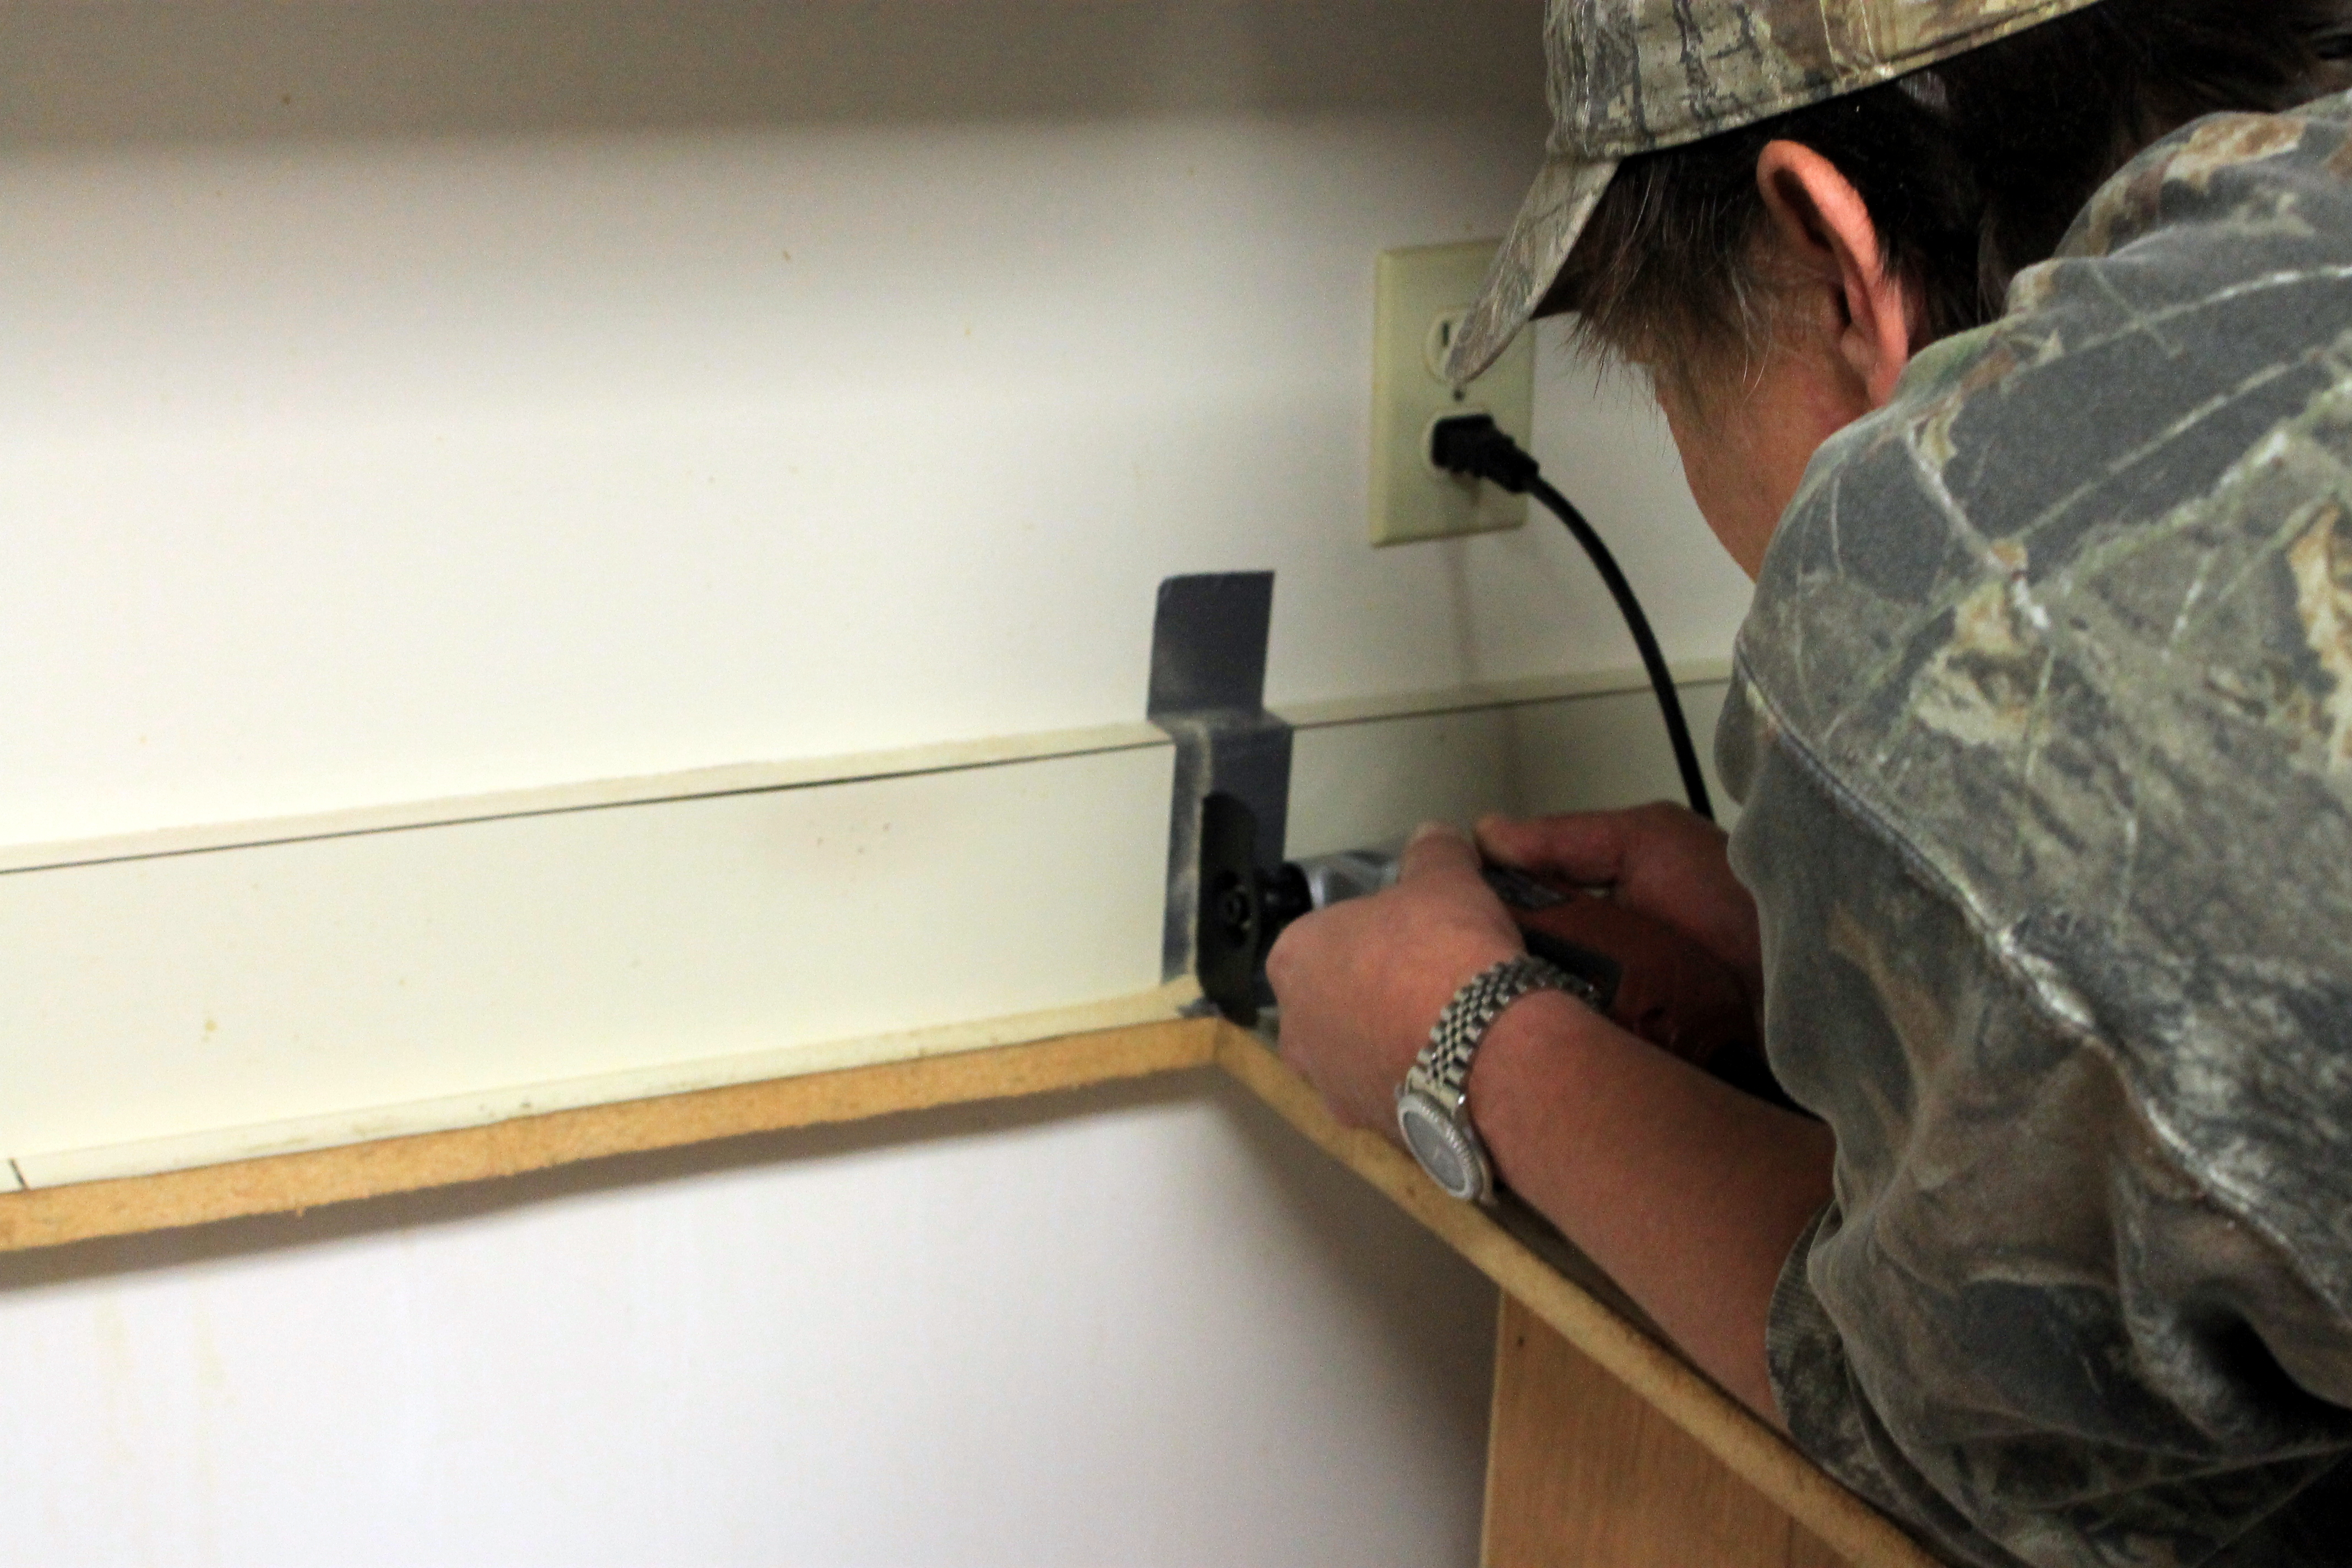
 What we were left with….pretty right? I really hope the drips there were from the countertop glue. This was around the time that the overall beige color of the kitchen started to wear on me and everything just seemed dirty and grungy. Yuck. Anyway, the next step was converting the hardwired drop-in to an up-to-code plug for the for the freestanding stove. We are very blessed that my dad is super handy, and basically built our house himself, so we saved a TON of money that he was able and willing to help us with this step instead of hiring an electrician.
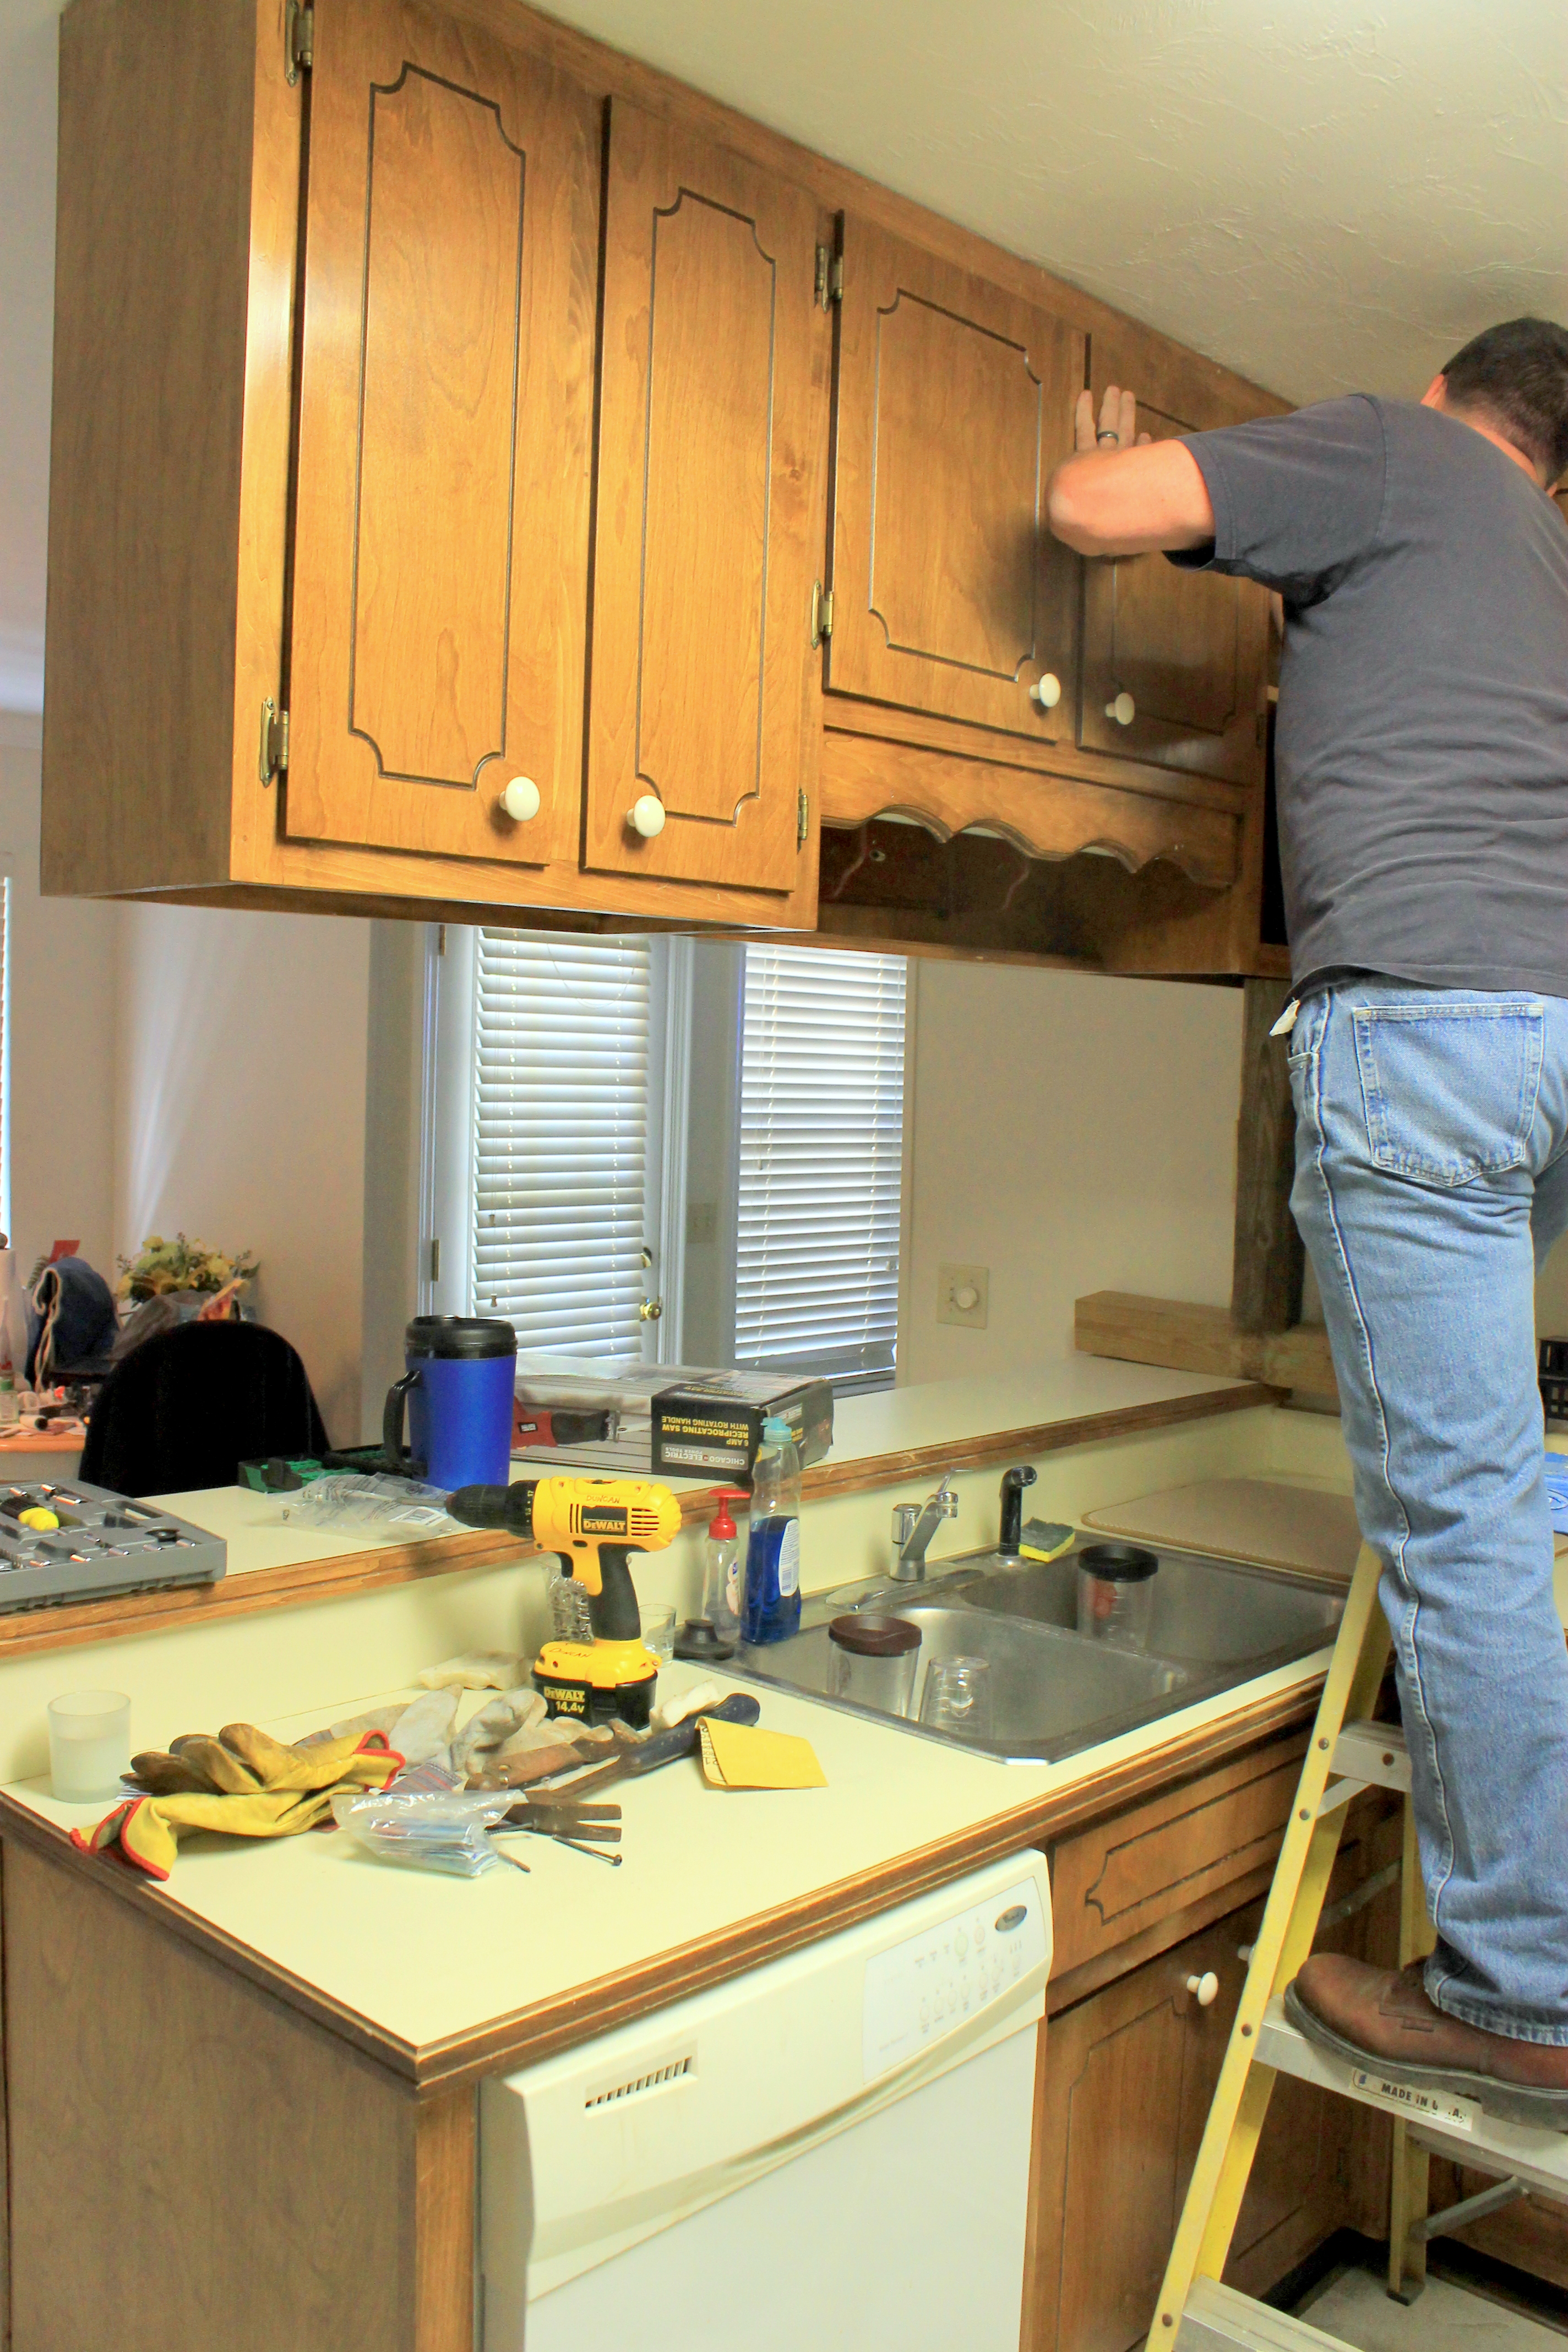
Meanwhile, a few mere feet away, we were double blessed to have my uncle Bill helping us that day on some other long time coming tasks. One of which was working on our laundry room, which will be another post for another day, probably a long time from now since it’s still a long way from done. The more important job being that he was there to help us remove the cabinet above the bar.
 From the moment we moved in we wanted to remove that cabinet. A lot of people thought we were nuts, given that cabinet space is always valuable real estate in a kitchen. But we had so many cabinets already, and it really seemed to date the kitchen, so we did our best to not put anything in those cabinets that we wouldn’t be able to find a place for later. So we did that for about 8 months, with that cabinet only holding paper towels, which ended up finding a new home in the laundry room anyway. So we felt good about our decision to remove it, and forged ahead.
 I must stress again, how unbelievably lucky we are to have such awesome family members that help us out with things like this!!
Anywho…once that cabinet was out, the difference was incredible. The kitchen was so open and light it was fantastic. It almost felt like it was the way it was meant to be. It was a subtle change that had really had drastic impact. Although we were left with a few holes in place of the cabinet…
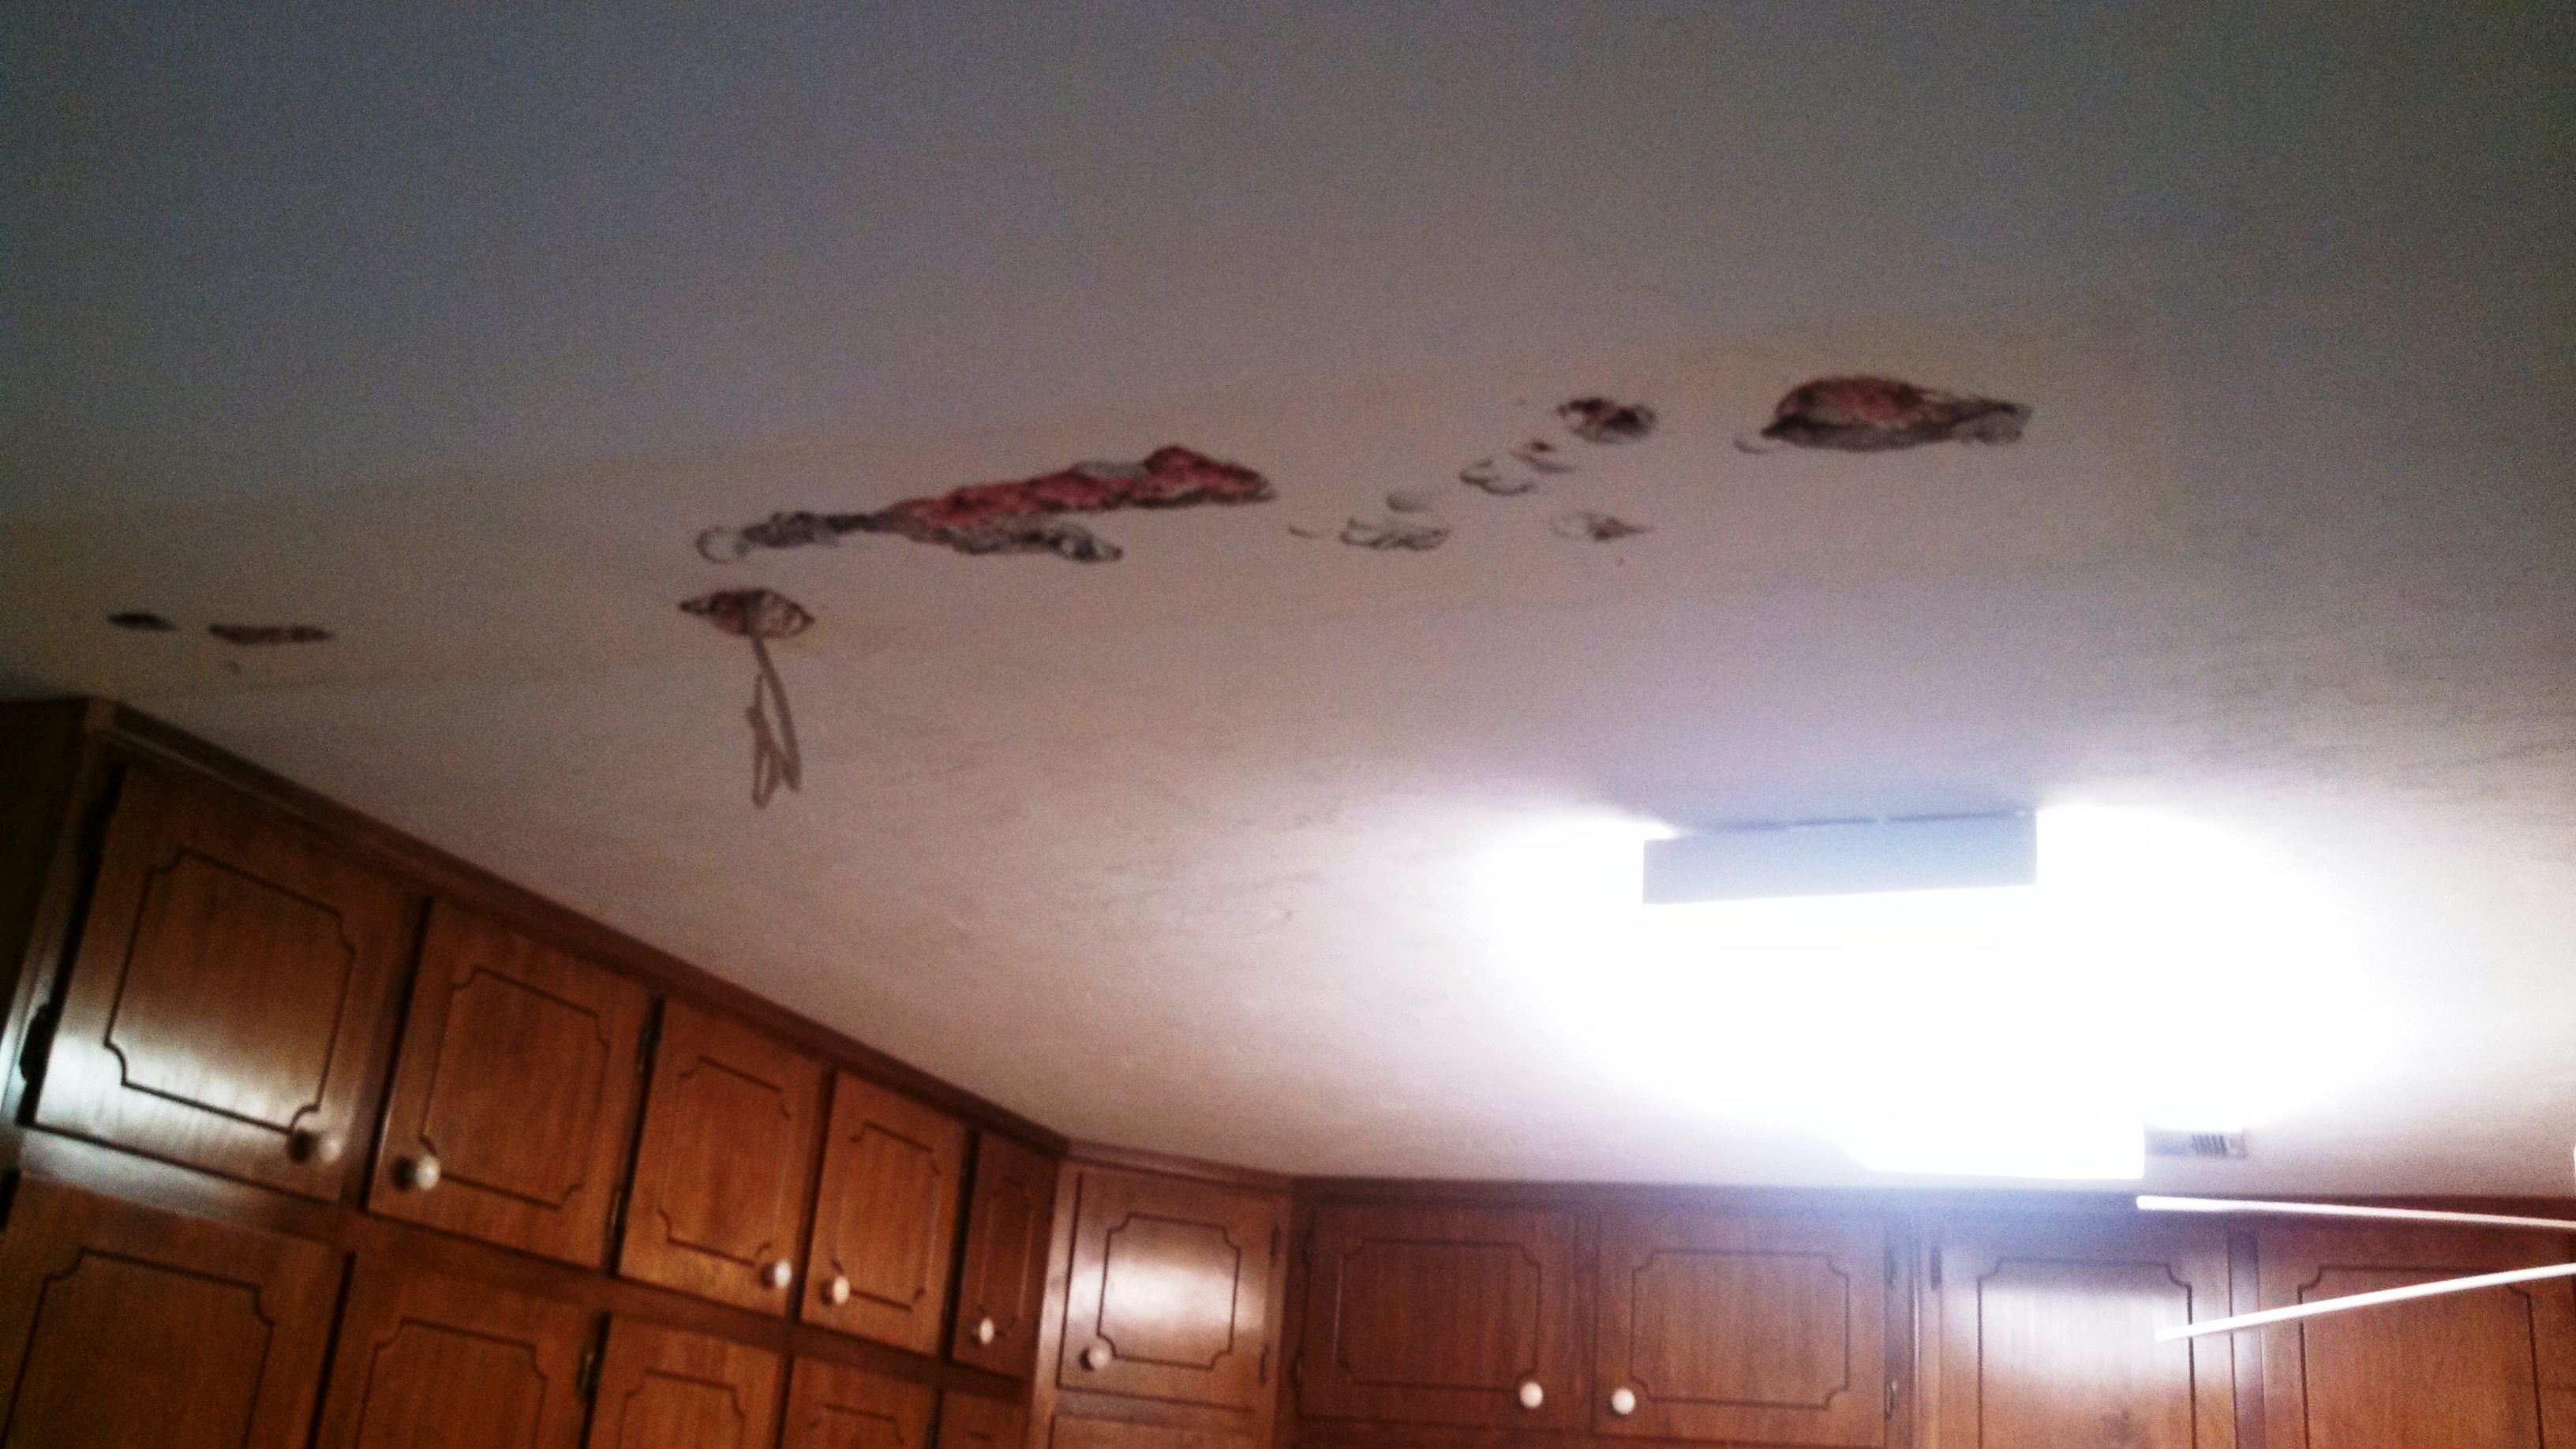 Which remained until we figured out what we wanted to do about lighting, and once that was done, we had the drywall professionally repaired. It was one of those projects that we probably could have done but were afraid that it would always look like we did it ourselves if we did, so we hired it out and had him fix a couple of other holes too. Also, it was easier on our wallet because we were able to craigslist our old oven, and use the proceeds to pay for the drywall repair! Winning! 🙂
As for our new oven…we are in LOVE.  Isn’t she pretty? I just love her blue interior! That’s totally how you pick out a stove right? Based upon the color of the interior?? haha. Just kidding of course, it was just a perk that it was blue inside. And it really started to make the rest of the kitchen look pathetic in comparison, so that’s when we really got motivated to keep going.
We love all the changes, and we’re so thankful to Joey’s parents, my Dad and my Uncle Bill for making it possible for us!
