
Pinterest started to become a thing just after we bought our house if I remember correctly, and I thank my lucky stars for it every day. Although I think Joey kind of despises it in a way that men used to despise HGTV, because it is a constant source of ideas for projects to do in our home. 🙂
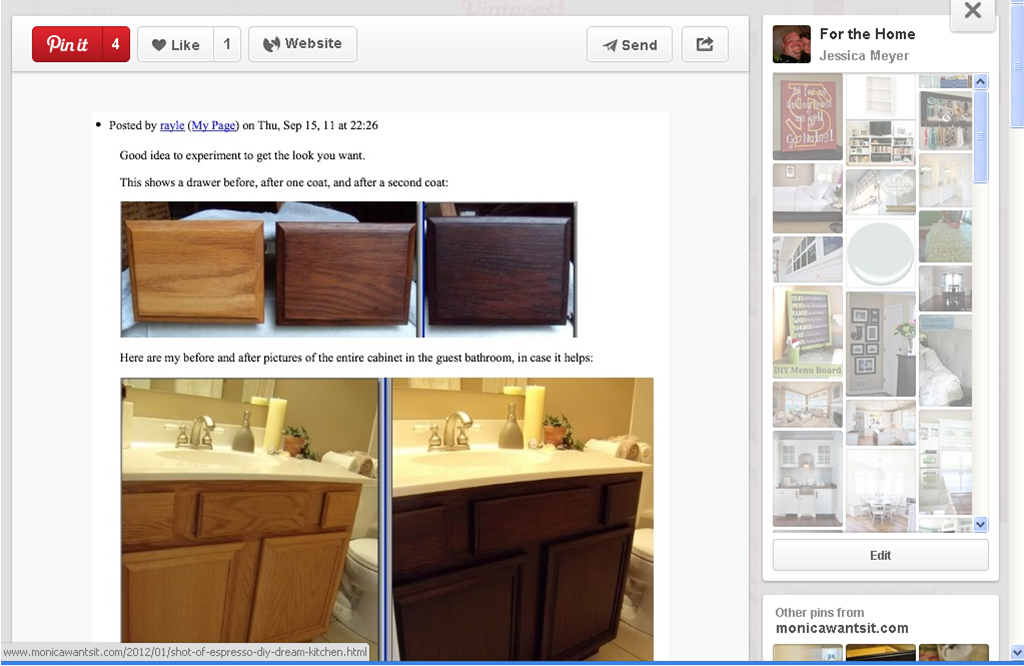
I however, would like to kiss the makers of it, and most of all Monica, from Monica Wants It: A Lifestyle Blog. Her post about updating her bathroom vanity from a honey color to the dark espresso with gel stain was one of the first posts I came across on Pinterest, and her tutorial is what inspired and motivated me to do our kitchen cabinets.
 I’d never heard of gel stain before, and her tutorial enticed me because there was only a light sanding, scuffing really, that occurs with her process, instead of the very labor intensive stripping and sanding that would need to occur for traditional staining.
I decided to try it out on our guest bathroom vanity first. Just in case, since that would be A LOT cheaper for us to replace if it was a DIY fail, than all the kitchen cabinets. I used the same brand of gel stain (ordered from Amazon) but in a different color, I selected Georgian Cherry, because I am a sucker for all things cherry colored. I followed her tutorial to the letter, and the vanity turned out pretty good if I do say so myself. It was the first go around, so it’s a little heavier handed and the doors are darker than I would have liked, but I learned a lot in this process and I’m glad I practiced there first. The bathroom vanity was actually my first diy project in this house!
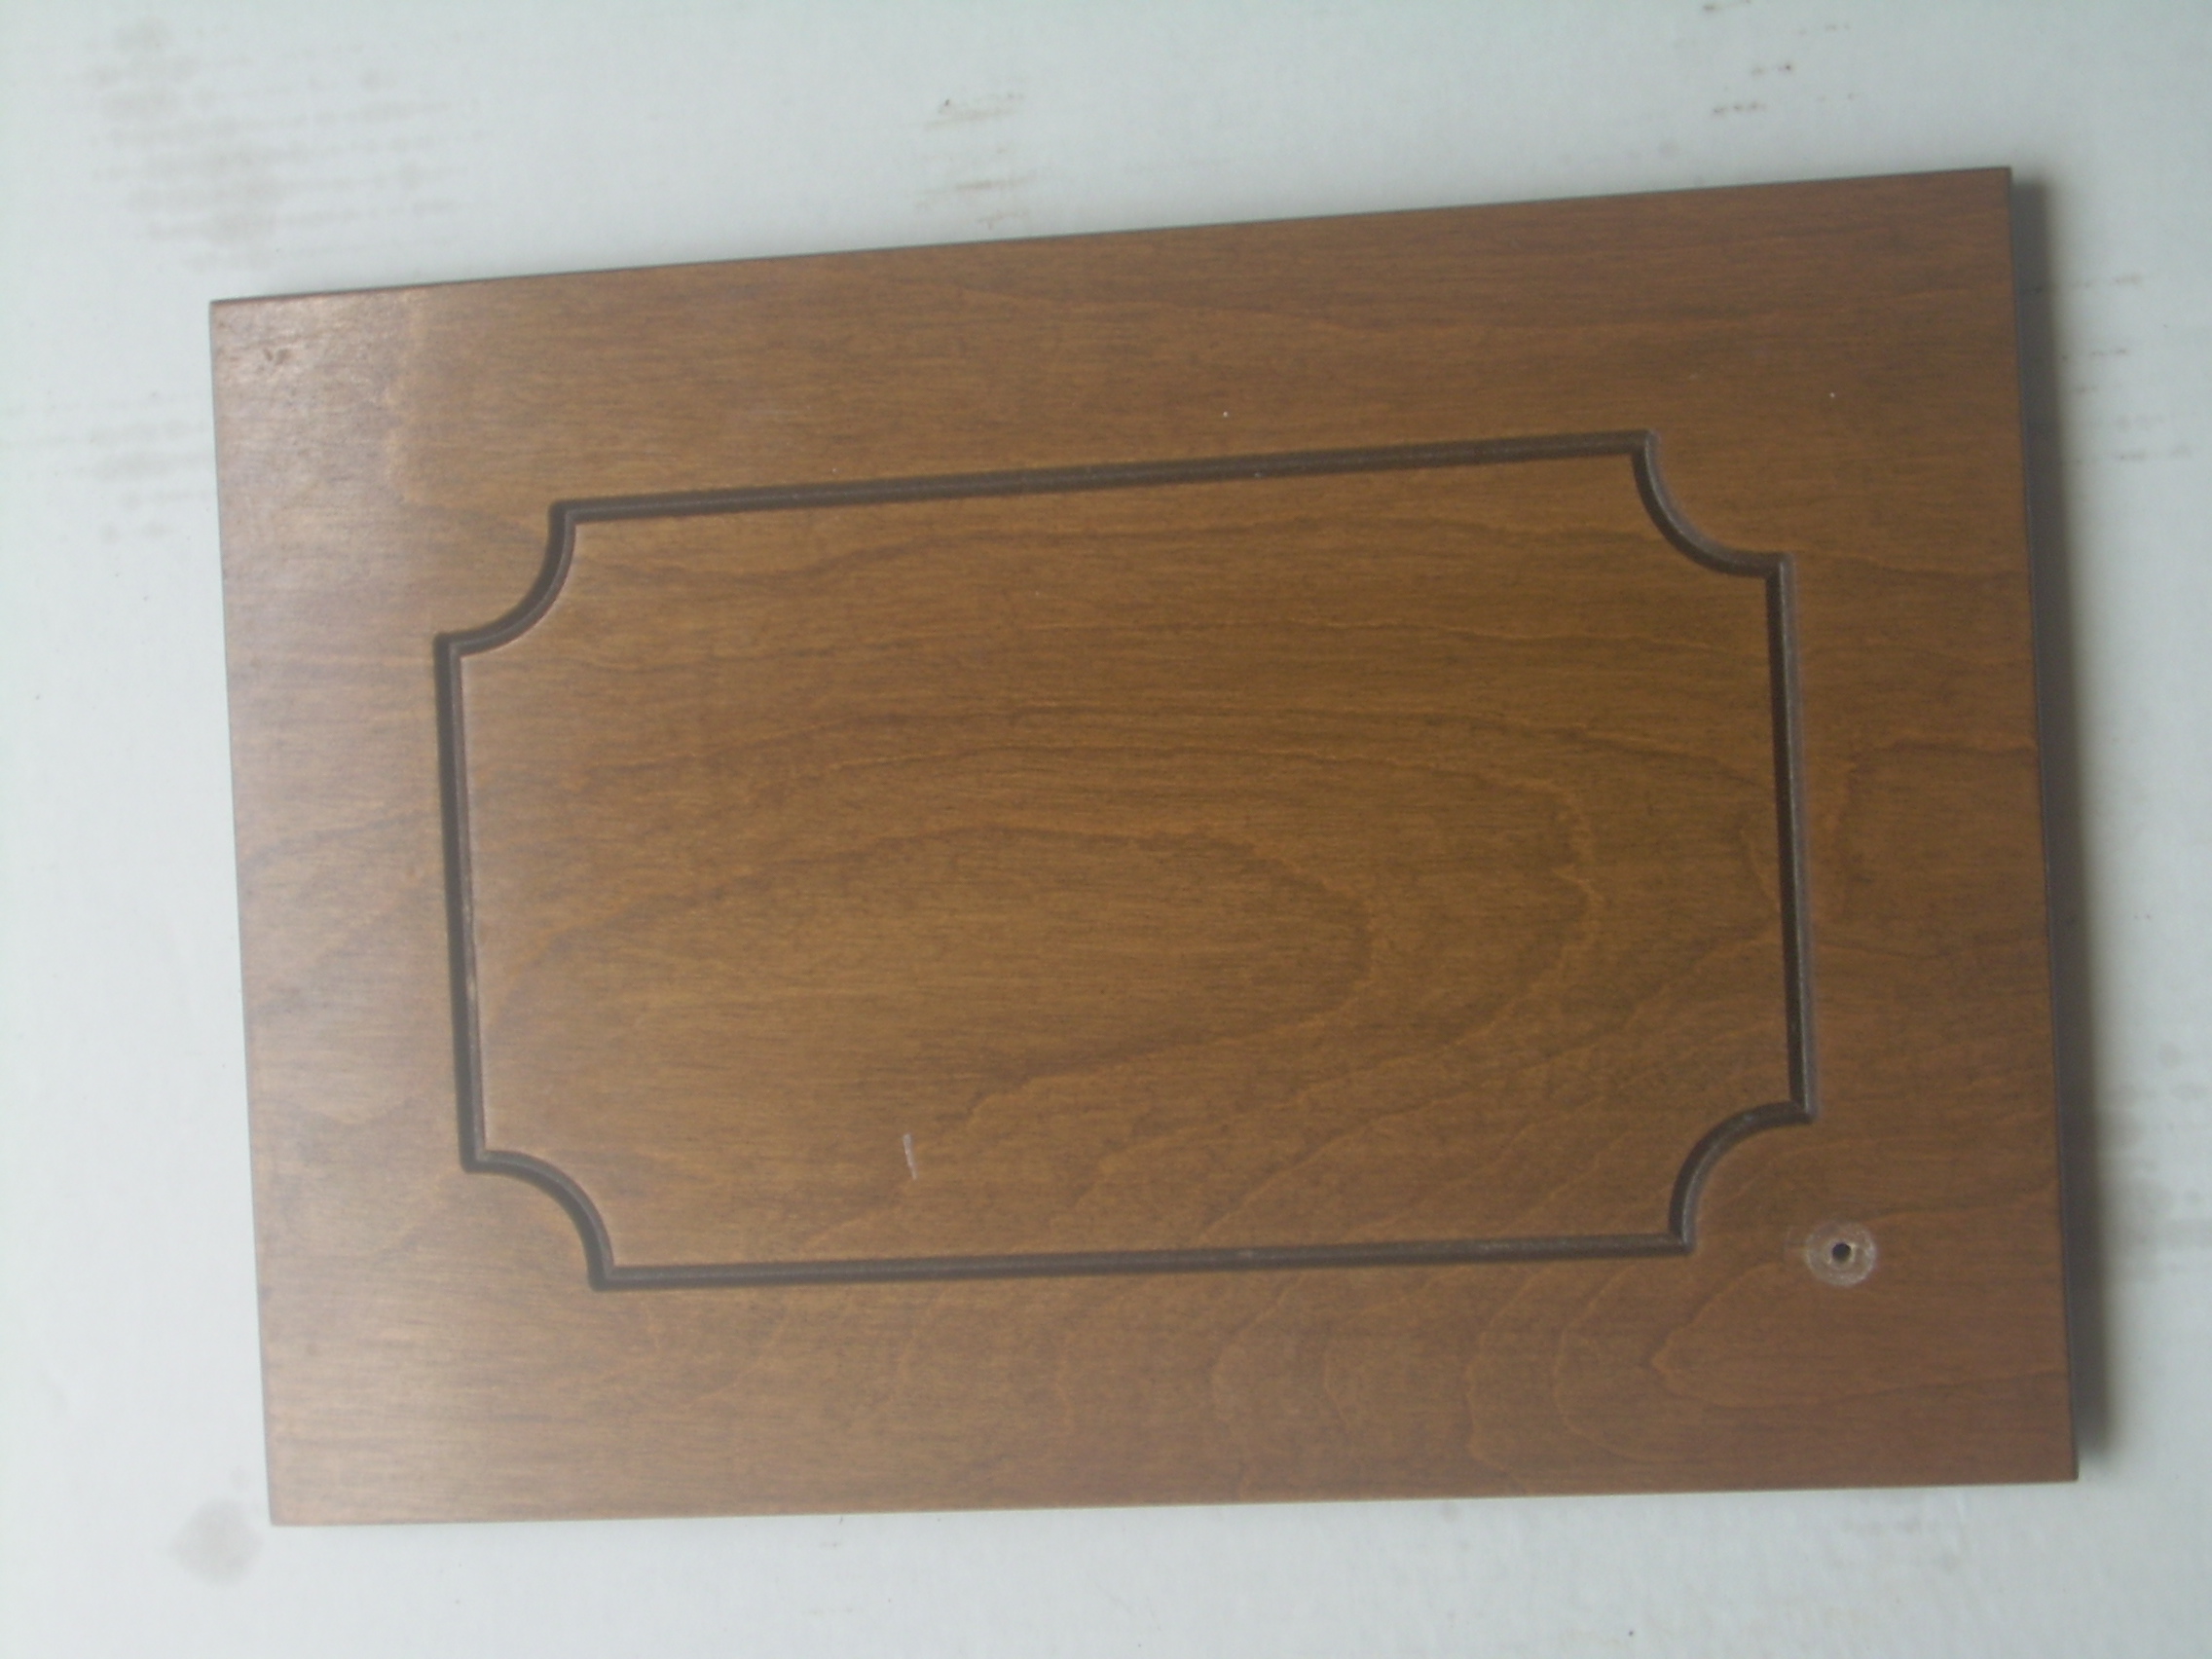
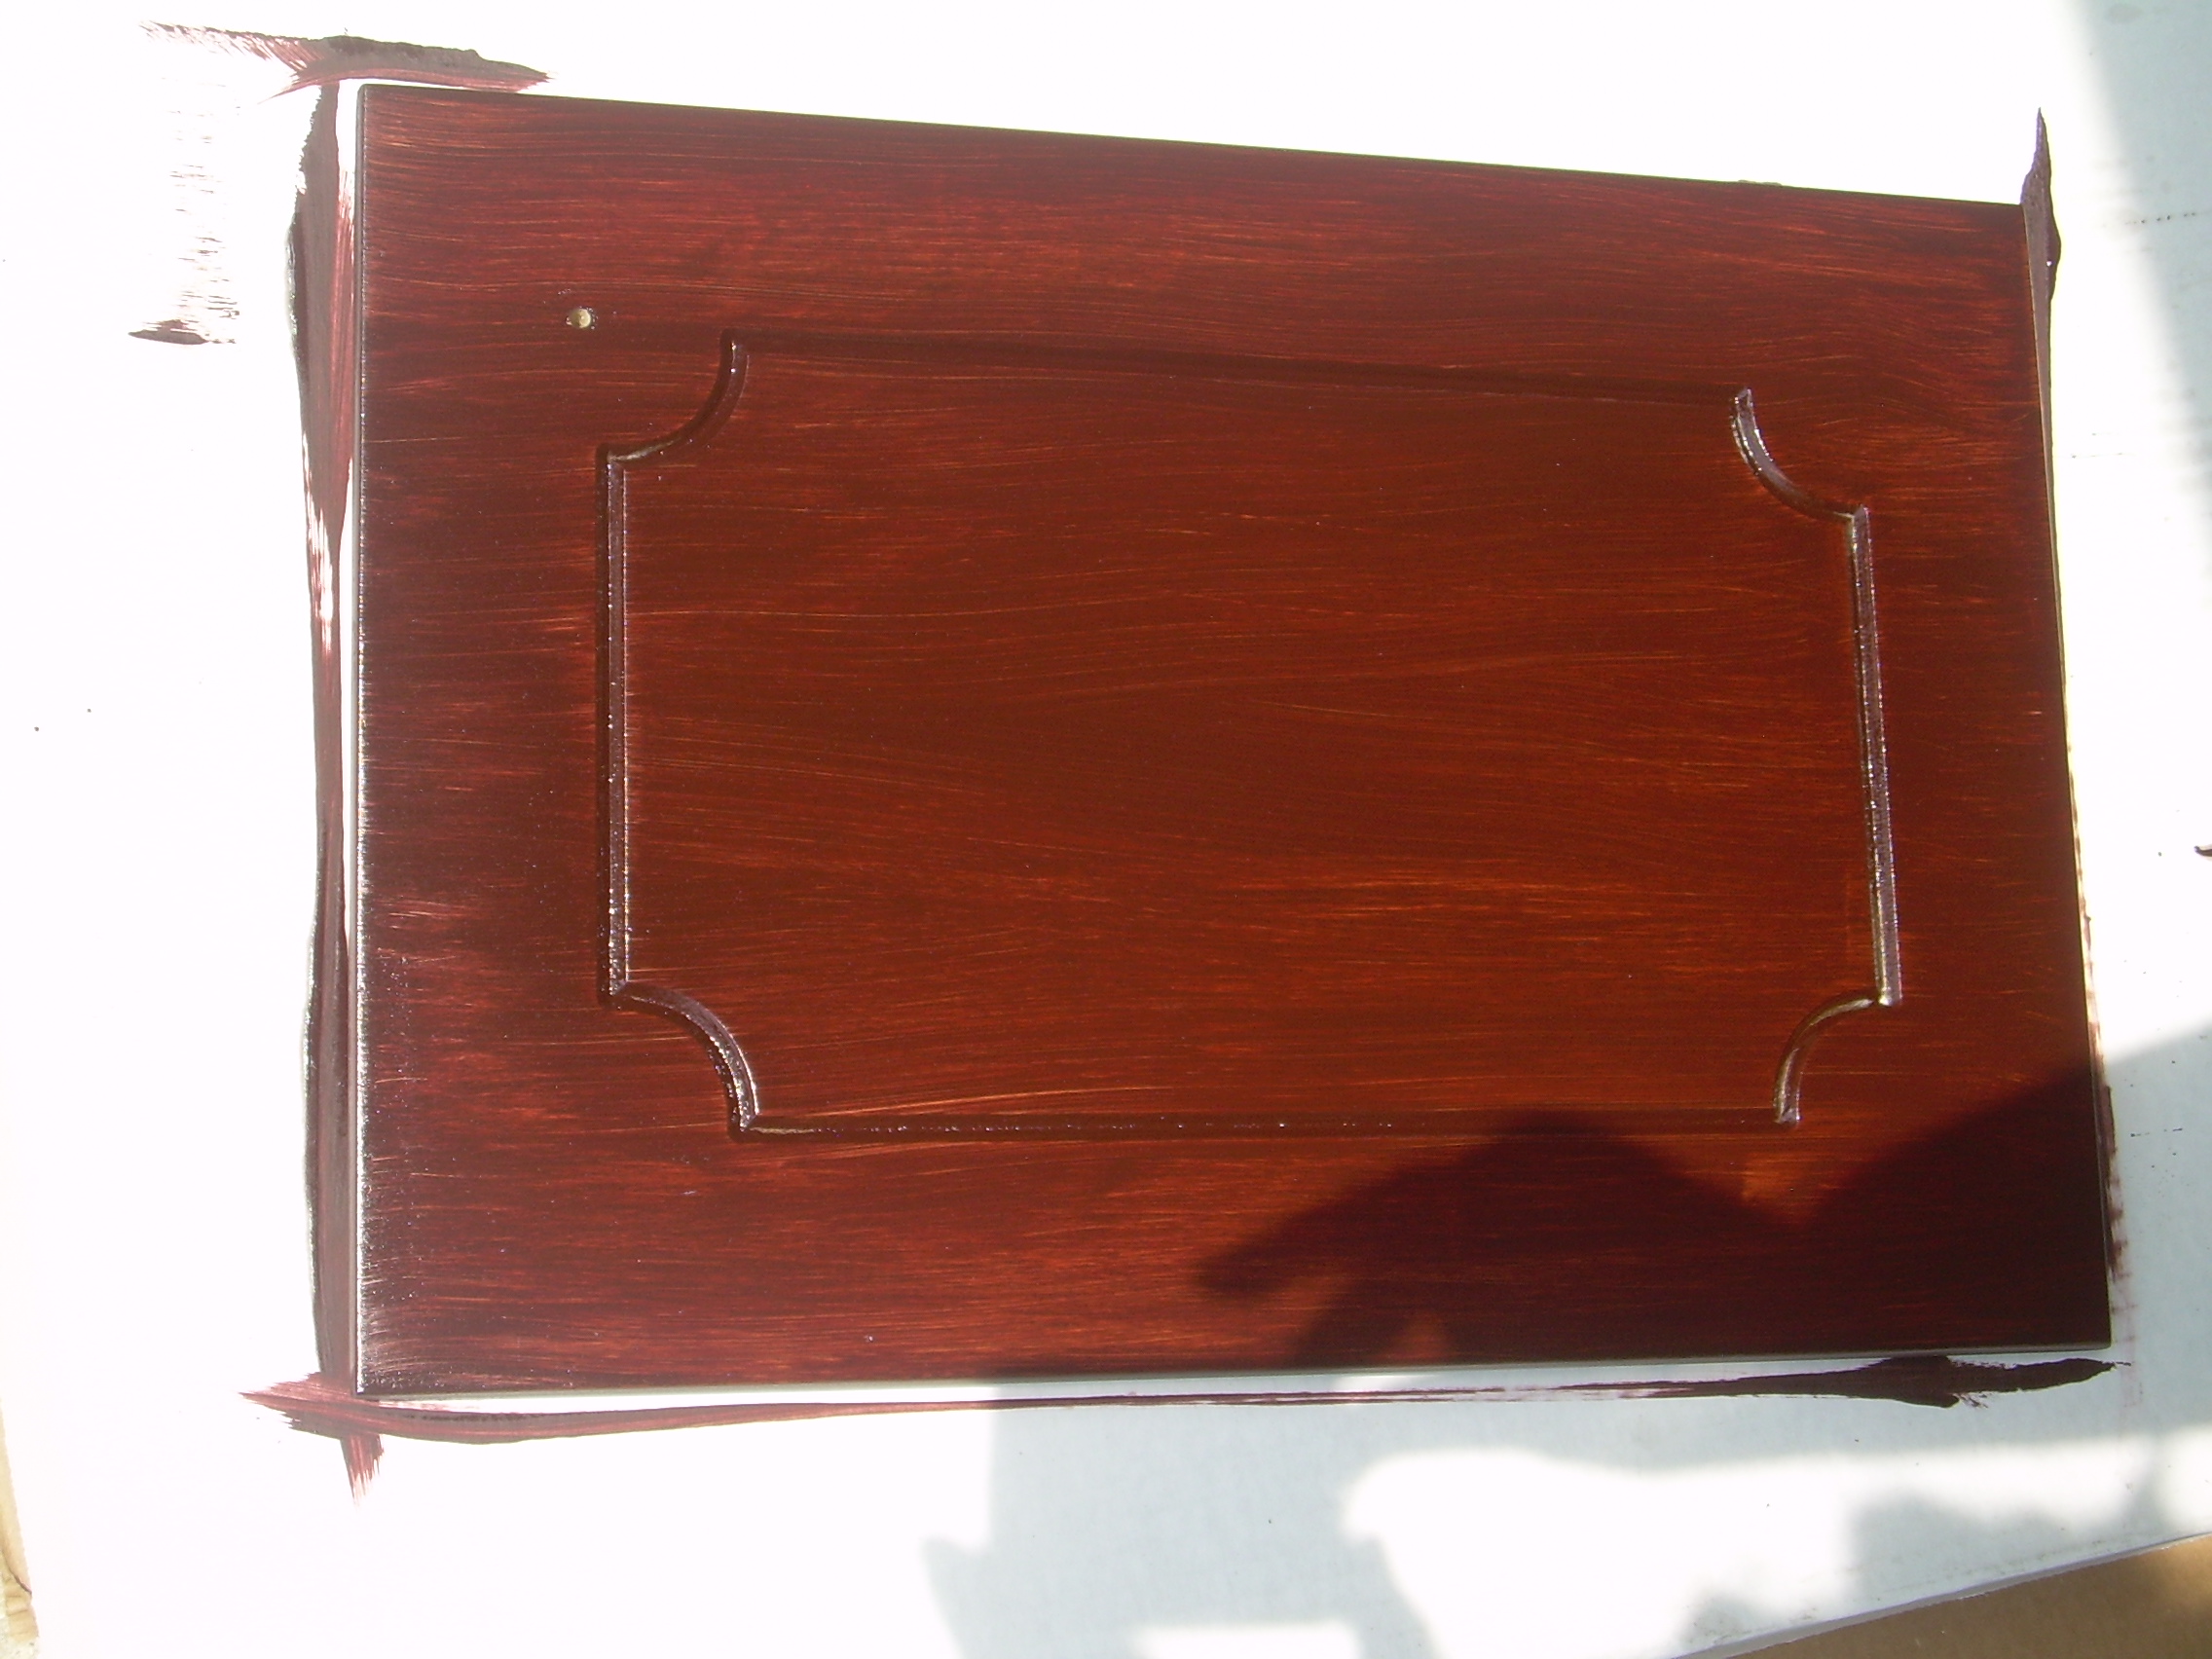
(Left photo is the before of one bathroom cabinet door, right is after one coat of stain)
So with the results of the bathroom encouraging, about 6 or 7 months later, is when I finally got up the motivation to start on the kitchen cabinets. And to be honest, for the number of cabinets that we have, it stretched out into quite a project. I started in March and called it done just before Labor Day in September. I had initially planned to be done by Memorial Day but alas, life gets in the way.
For anyone that considers doing this method, I definitely encourage you to use Monica’s Tutorial and to practice on something less important first. You definitely find your groove and your style, and you can kind of make it your own. But follow her main points, and really it’s pretty fool proof. And quick! Even though it stretched out for as long as it did, I must say that the actual work part goes by very quickly. As with any project the worst part is the prep. I was very meticulous about taping off areas I wasn’t staining (like the inside of cabinets, inside of doors, floors, walls and countertops) and even just a light sanding and cleaning is still tedious, although I do recognize how easy I got away with this process versus normal staining techniques.
Oh and how could I forget the hardware! That was also a beast, just removing all the hardware was a massive chore. If I remember correctly we had 52 knobs in that kitchen, so that meant 52 doors/drawers that all required two hinges be removed and replaced. In the beginning, I did it alone, just using a screwdriver, it was a workout to say the least! Later we got smart and used the drill, and Joey took over most of those duties.
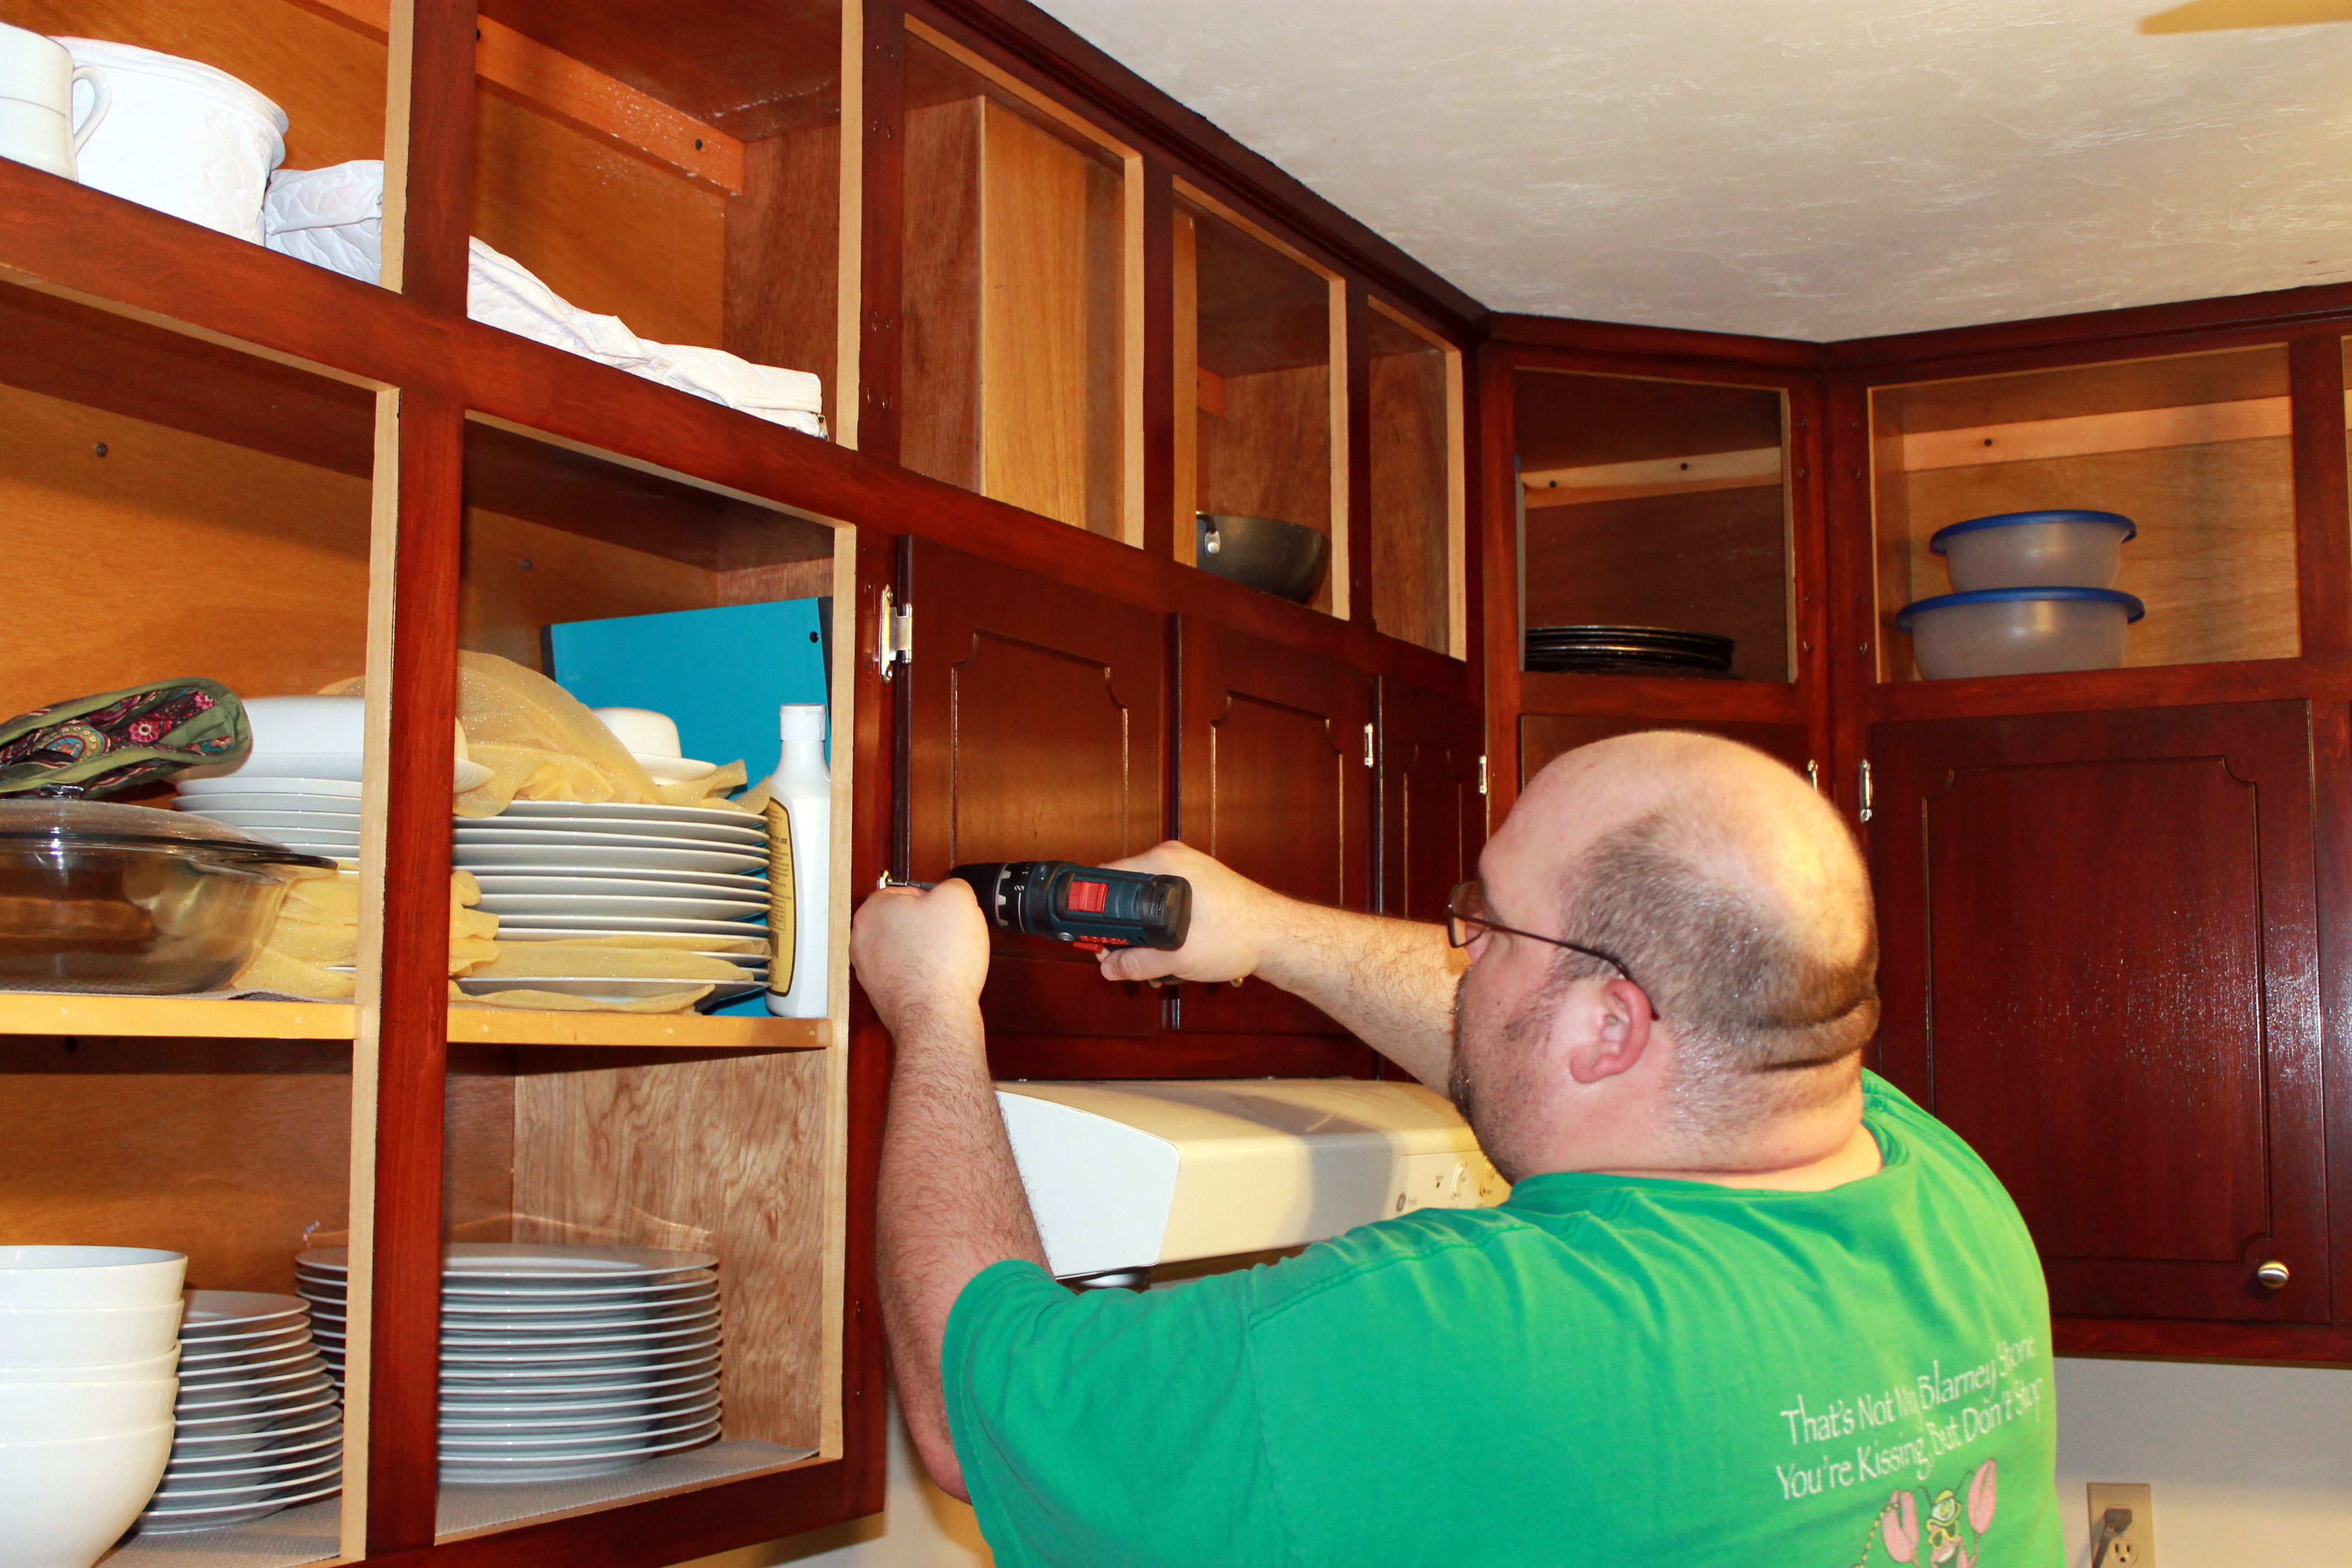
Please also ignore the ratty looking contents of the cabinets. The foam liner for our china looks so tacky
But the staining itself is a snap. I broke our kitchen up into sections for staining, and I would say that each section took under a half hour for each coat of stain, and even that is being generous. The long part was waiting for it to dry and cure, I waited at least 24 hours in between coats. I did three really light coats on the cabinet frames and the doors. Although in my experience the doors really sucked up the stain a lot more than the frames, so some of them only got 2 coats to make sure it was all as even as possible.
Once three coats of stain is on, then you have to apply between 2-3 coats of gel poly on top, letting each coat dry for 24 hours. I did two coats on the upper cabinets and three coats of poly on the bottom cabinets since they take a little more of a beating.
If you are very dedicated and have nothing else to do, you could definitely knock this project out much quicker than I did. But with Chief having increased needs due to his surgery, Lady requiring more attention because she couldn’t play with Chief to get her energy out, and then Joey also having carpal tunnel surgery on both hands during this time, it really took a lot longer than I could have anticipated. But the important part is that it’s done. And we love it.
Now I want to stain every piece of non-cherry wood in my house. Including pieces that are painted and not real wood (this stain works for those pieces too!! I’m telling you it’s miracle stain!) so you can be sure you will see future posts of projects involving this product, in fact I have two different projects going on in my garage this very minute that required this stain. 🙂

Pingback: The Entertainment Center Dilemma | The Meyer Manor
Very nice job