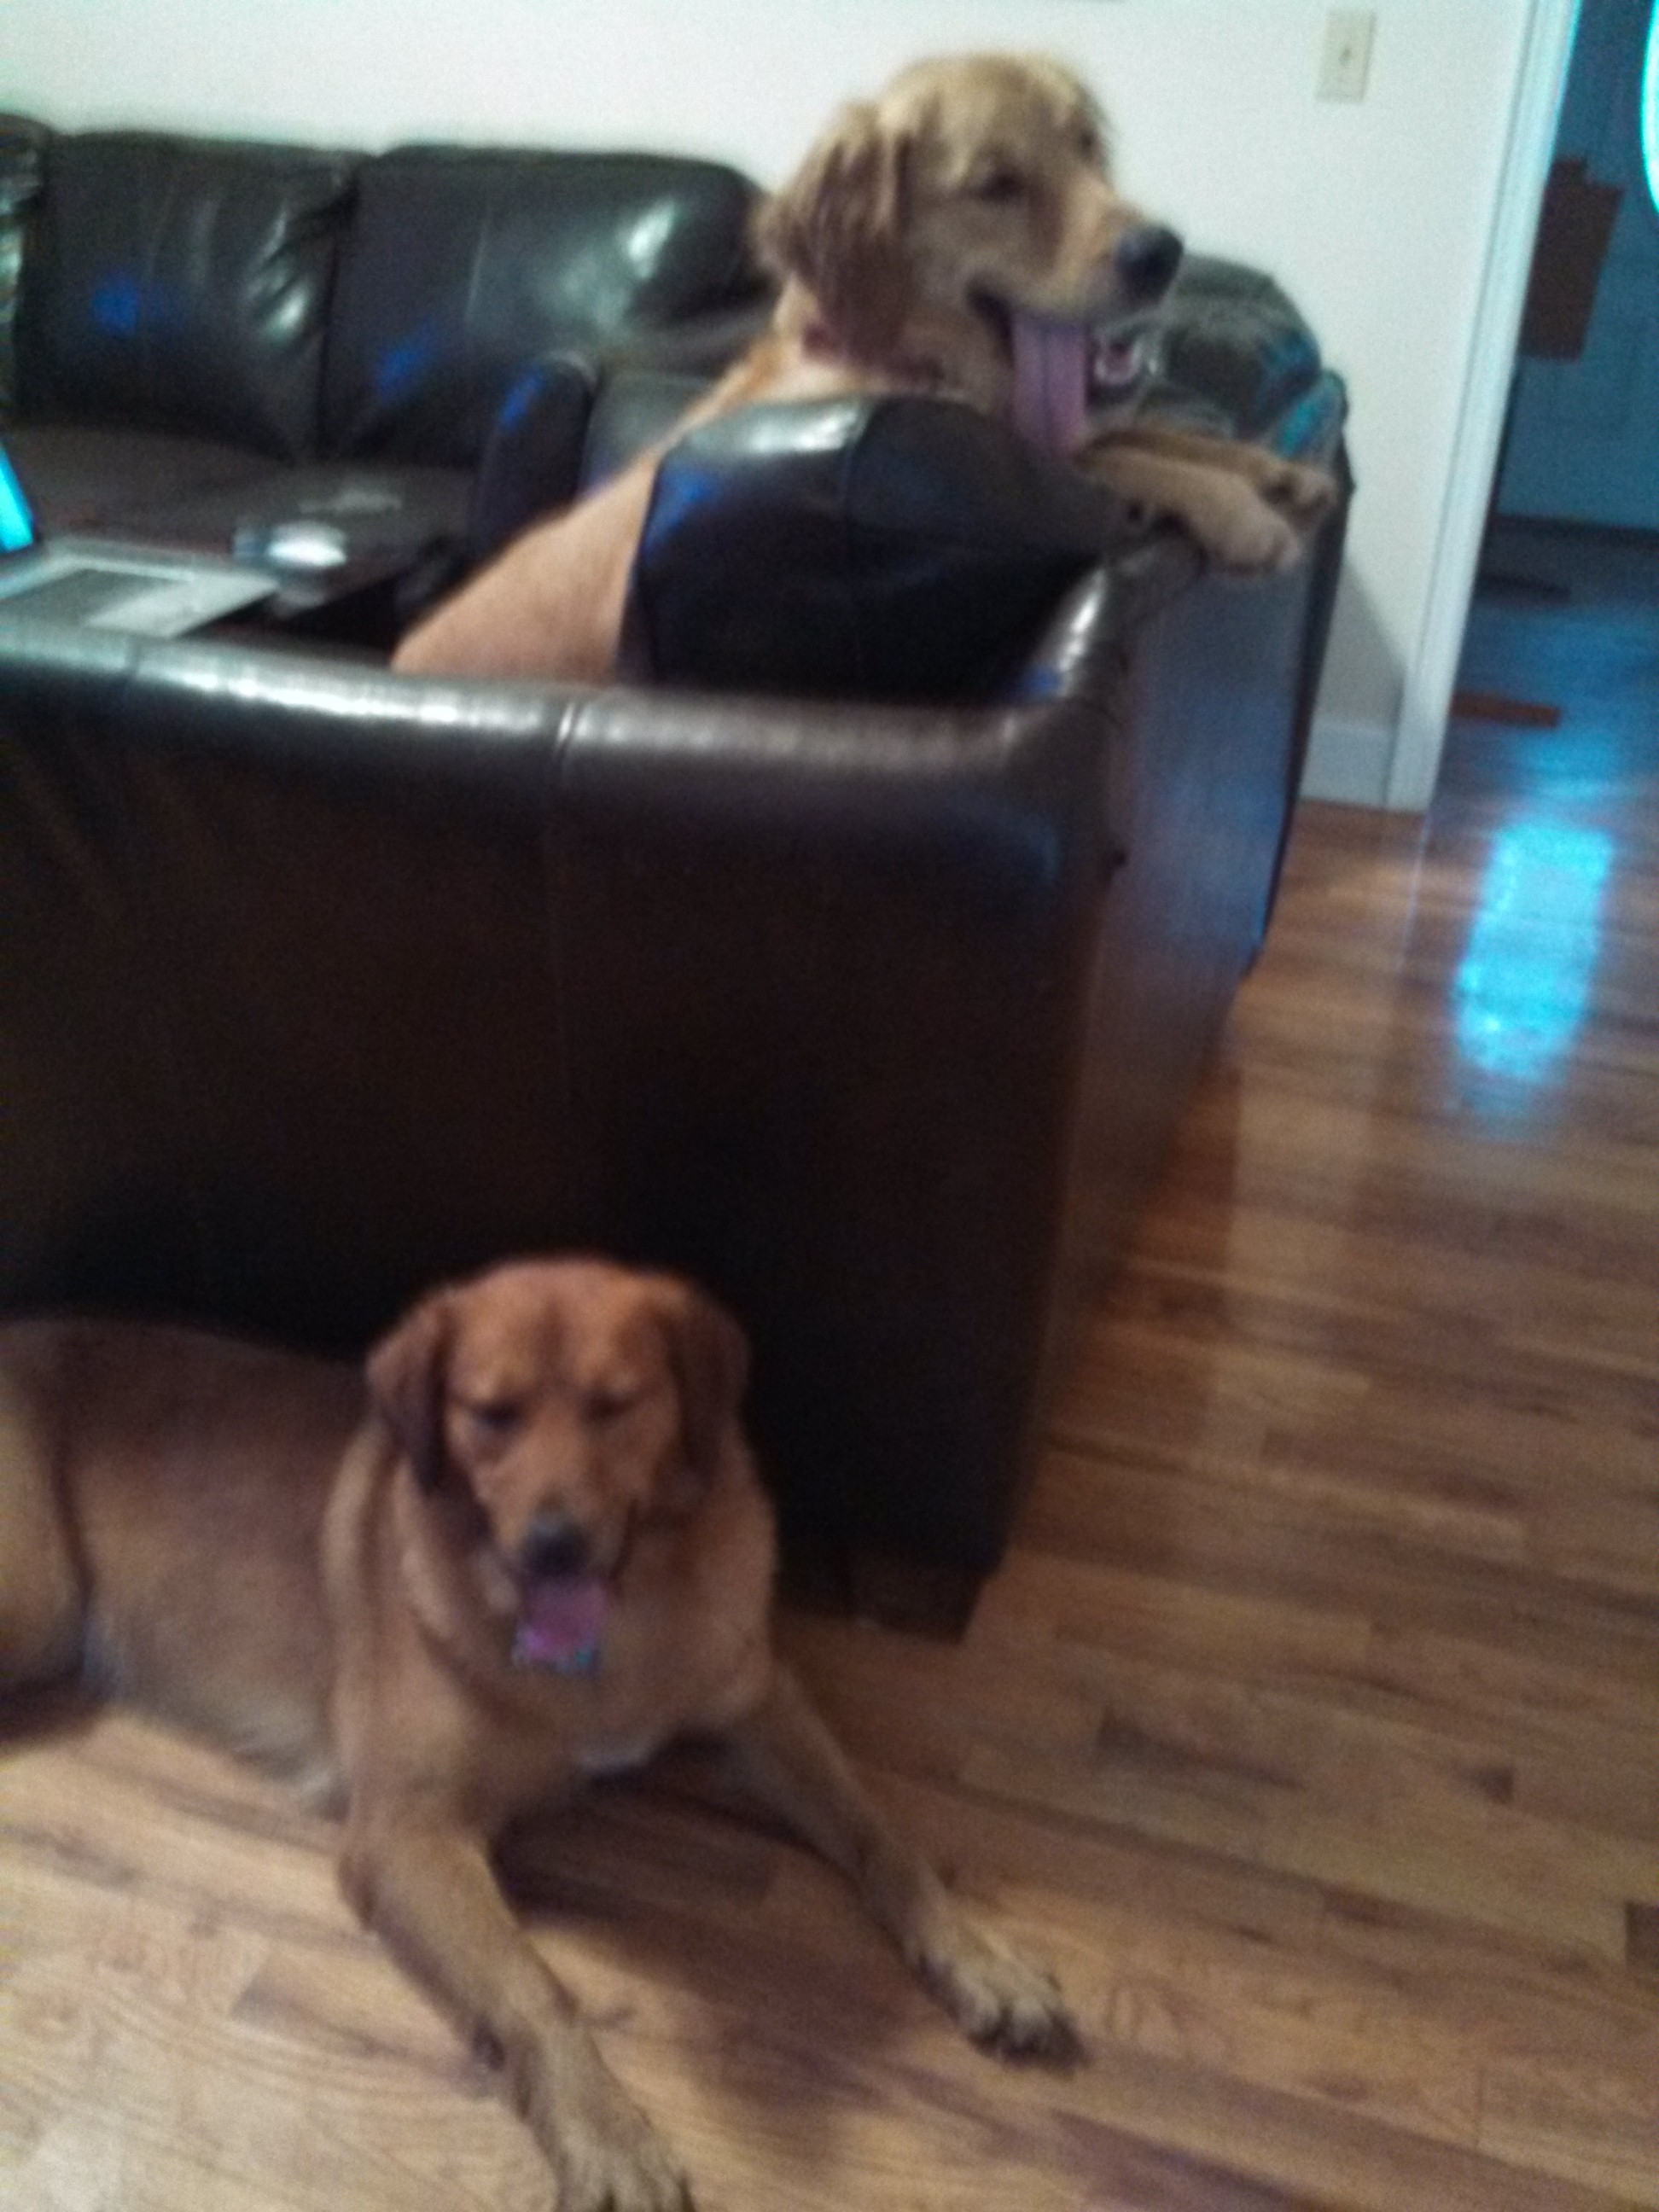
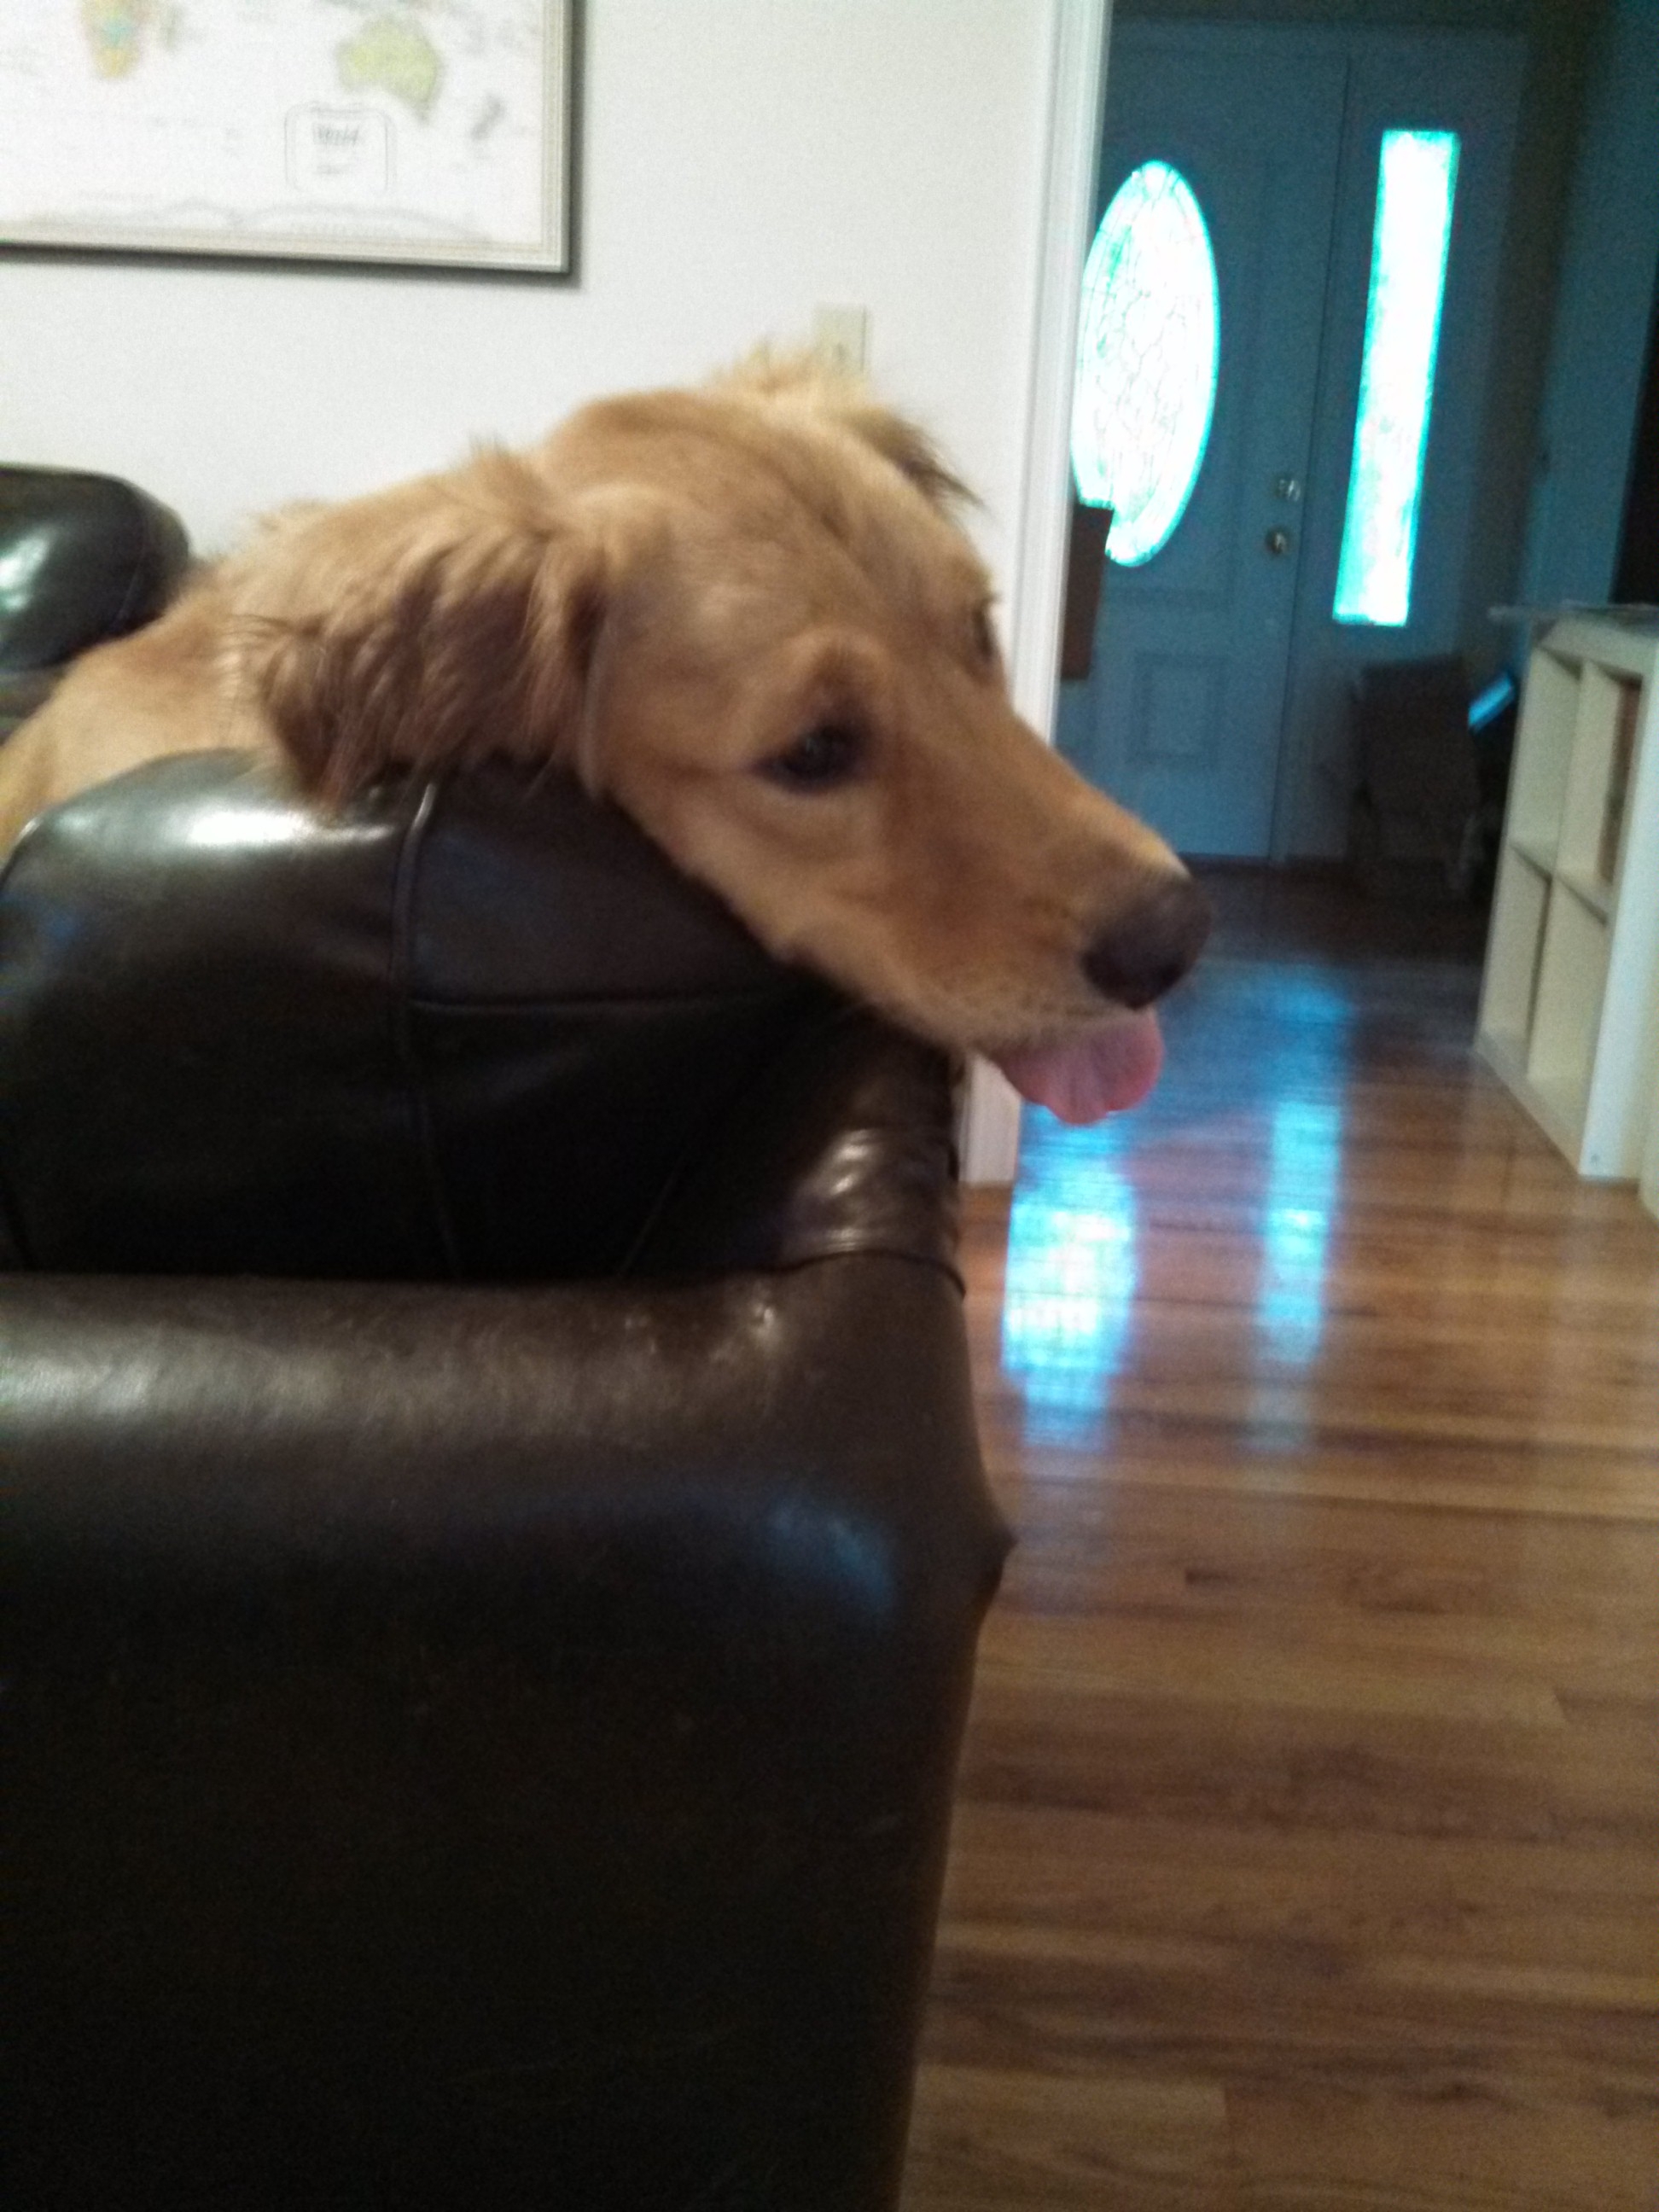
I said I would do a post about Chief’s surgery and how we came to find out about his hip dysplasia. Things have just recently started to go back to normal, even though the poor baby has been cleared for regular life since June. So since we’re regaining this normalcy, I thought it was a good time to reflect on the events, and maybe help prepare someone else that happens to stumble onto this blog in a similar situation of what is to come. Also, this post is probably going to be a little wordy, so feel free to skim or skip and just ooh and aww at the cute Chief pics I’ve peppered into this post to keep it more exciting.
 It all started at the end of February when Chief started throwing up…at first it was just once or twice, we assumed it was just normal dog stuff, eating too fast or what not…
Well it started becoming more regular and he always ate it before we could check it out so we had no idea what we were dealing with (sorry, that’s gross I know). Until one day about 5 or 6 days after the vomiting began, when he started being lethargic and refused to eat. As soon as he refused his food and playing with his sister we rushed him to the vet. He spent the night there and was monitored closely. During the night he threw up enough shreds of a red towel to fill up a gallon size Ziploc, the patch sewn into the towel even came out whole! We had never even known that he had been eating this, he and Lady had been playing tug a war with the same towel a few days earlier…but never anticipated that Chief would decide to eat the towel…
 And as it turns out of course, towels are not digestible, and in fact, towels do what they’re supposed to do…absorb. We had to have the poor guy rushed to another vet to have him scoped to make sure that it had all come out. Luckily, it had, but his stomach lining was very irritated so the vet decided to place some tiny bb like things in his stomach to make sure that everything was passing through correctly. He needed to go to the vet the next day to get x-rays to make sure that the bb’s were moving along on the correct path.
He seemed fine when he got home, so we weren’t too worried about the x-ray the following day. We thought we were out of the woods for sure. And we were as far as his stomach issue went…but we were not prepared for what the x-rays also found…
Hip dysplasia. The worst our vet has ever seen! Joey was not at all prepared for the conversation that followed from our doctor…and I hate that he had to get that news alone when we were just expecting to pick the dog up and for everything to be fine. Instead Joey was given strict orders that Chief was going to have to not run or jump for the rest of his life…or he’ll tear something and may have to get put down or have gruesome archaic surgeries with less-than-stellar outcome percentages. We were devastated. That night we cried, we talked through every possible option that we could think of…and resolved to make Chief’s life as normal as possible even if it meant risking a shorter life span, for him to have a better quality of life. Because no running or jumping or playing with his sister, and essentially living in a bubble, would not be fair to a 9 month old Golden Retriever puppy.

Now I should say a little something about our vet…We LOVE our vet!! And Chief and Lady love our vet even more than we do, which makes us appreciate our vet and his staff even more!! They are both so happy whenever we pull into the parking lot, it’s like they’re going on vacation! Maybe they don’t get out enough… haha. But, that being said, he’s more of a general practitioner and was the first to tell us that he doesn’t keep up with the new surgeries and treatments because he’s not a surgeon.
The next day I called our vet and talked to him as well, told him our concerns, asked him about a surgery I had read about online called a TPO, and finally got the number for a surgeon/specialist that he recommended. A few days later we met with the surgeon and our fear was confirmed. He did have dysplasia…but the surgeon was much more optimistic about Chief’s future than our vet was. He recommended the surgery that I had read about, which is called a Triple Pelvic Osteotomy (TPO), and it’s for dogs under a year old that have been diagnosed with hip dysplasia. The reason they must be under a year old is because they use the dog’s own hip bones and sockets and secure them in place with pins and plates, unlike a total hip replacement where artificial parts are attached. However, because they’re using the dog’s true anatomy which is ideal, there can not be any arthritis or degeneration of that anatomy which tends to set in around 1 year of age. (Please note that I am far from a veterinary professional and this is strictly the information I gathered from the surgeon, in my own words. Google has lots of good information about the surgery itself if you’re interested).

1st x-ray after surgery. You can see how the left hip is not really sitting in the socket…that’s how both hips were. As he healed, his right hip (surgical hip) was more in place.
Initially, the vet advised that we have his right hip done first, and then if we wanted to, to do the left one four weeks into recovery from the right leg. But the day of the surgery we learned that the left hip was displaced further than initially believed, and that it wasn’t guaranteed that they would be able to put it into socket enough for the surgery to work. The surgeon advised that we continue with the right leg, and then use other methods to control the left hip dysplasia when and if it ever bothered him. So that’s what we did, and I think it was the right decision, because they ended up having a harder time with his right hip than they thought they would, and they said that the left leg definitely wouldn’t have taken to the surgery. So in the end I’m glad we didn’t put him through all that for it to not be successful.
The home instructions we received were to keep him calm, no running, no jumping, no excitement. ha. Have I mentioned that Chief is a 9 month old Golden Retriever? He doesn’t know what calm is! The moment he saw us walk in to pick him up, he leaped for joy with both front legs up in the air, leaving his one bad hip and one broken hip to support him (and that was while the vet tech was assisting him to walk). She immediately handed him off and went to find him more sedatives.
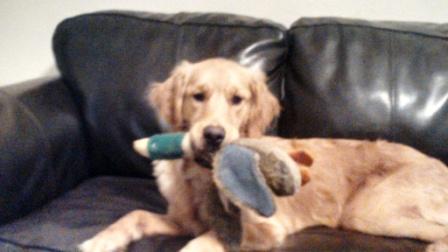
Of course the whole right back side of him had to be shaved. So that was a little jarring. I’m not sure what I expected, but it was sad to see that poor naked pup. And the heinous looking incision. They gave us a cape instead of a cone, and we were grateful for it! It worked so much better for us than the cone because it moved with him, so he couldn’t ever get to the spot to lick it, but it also was flexible and soft so it didn’t inhibit his sleep or comfort level.

Poor naked baby
As a quick side note, we got him home that first afternoon, and fed him and a few minutes after he ate, he began making this horrible noise. It was a god awful hacking noise and then it stopped. He wasn’t getting air. We panicked. We could try the Heimlich but it could hurt his hip. Joey snatched him up and put him in the car and held him the whole way to the emergency vet. I think we both cried the whole way there and it seemed like the longest 5 minutes of my life. All we could think is that something had gone wrong with the surgery, that something terribly wrong had happened with the sedative or the trachea pipe during the surgery. It was awful. When we arrived they came rushing out and checked his air, he was breathing but just barely and making that awful noise when he did. Finally as we walked into the facility he coughed up a few bits of kibble and promptly ate it right back up. He was fine. And in typical Chief fashion gave us the scare of a lifetime.
http://instagram.com/p/d0LxiSpmfM/
(photo taken months after surgery, he wasn’t allowed on the couch while he was recovering. But it’s the only sad face picture I have of Chief. lol)
The first week we had to ice his incision spots (there were three I think, but only two that required ice). He was not a fan of the ice. We were also supposed to watch the incisions for any signs of infection, so we took about a million pictures a day to compare (I’ll spare you those pics though).
We also had to sling him, which was essentially using a rolled up towel as a sling to support the leg that had surgery. In theory this shouldn’t be difficult, I did too much over thinking I think and worrying that I wasn’t doing it right. In the end, he turned out just fine, so obviously we did an alright job of it. It wasn’t comfortable for him or for us, but it had to be done, and it’s one of those things to expect if you’re anticipating having a recovering pup from a TPO. After the first week, we were able to leash walk him for potty breaks.
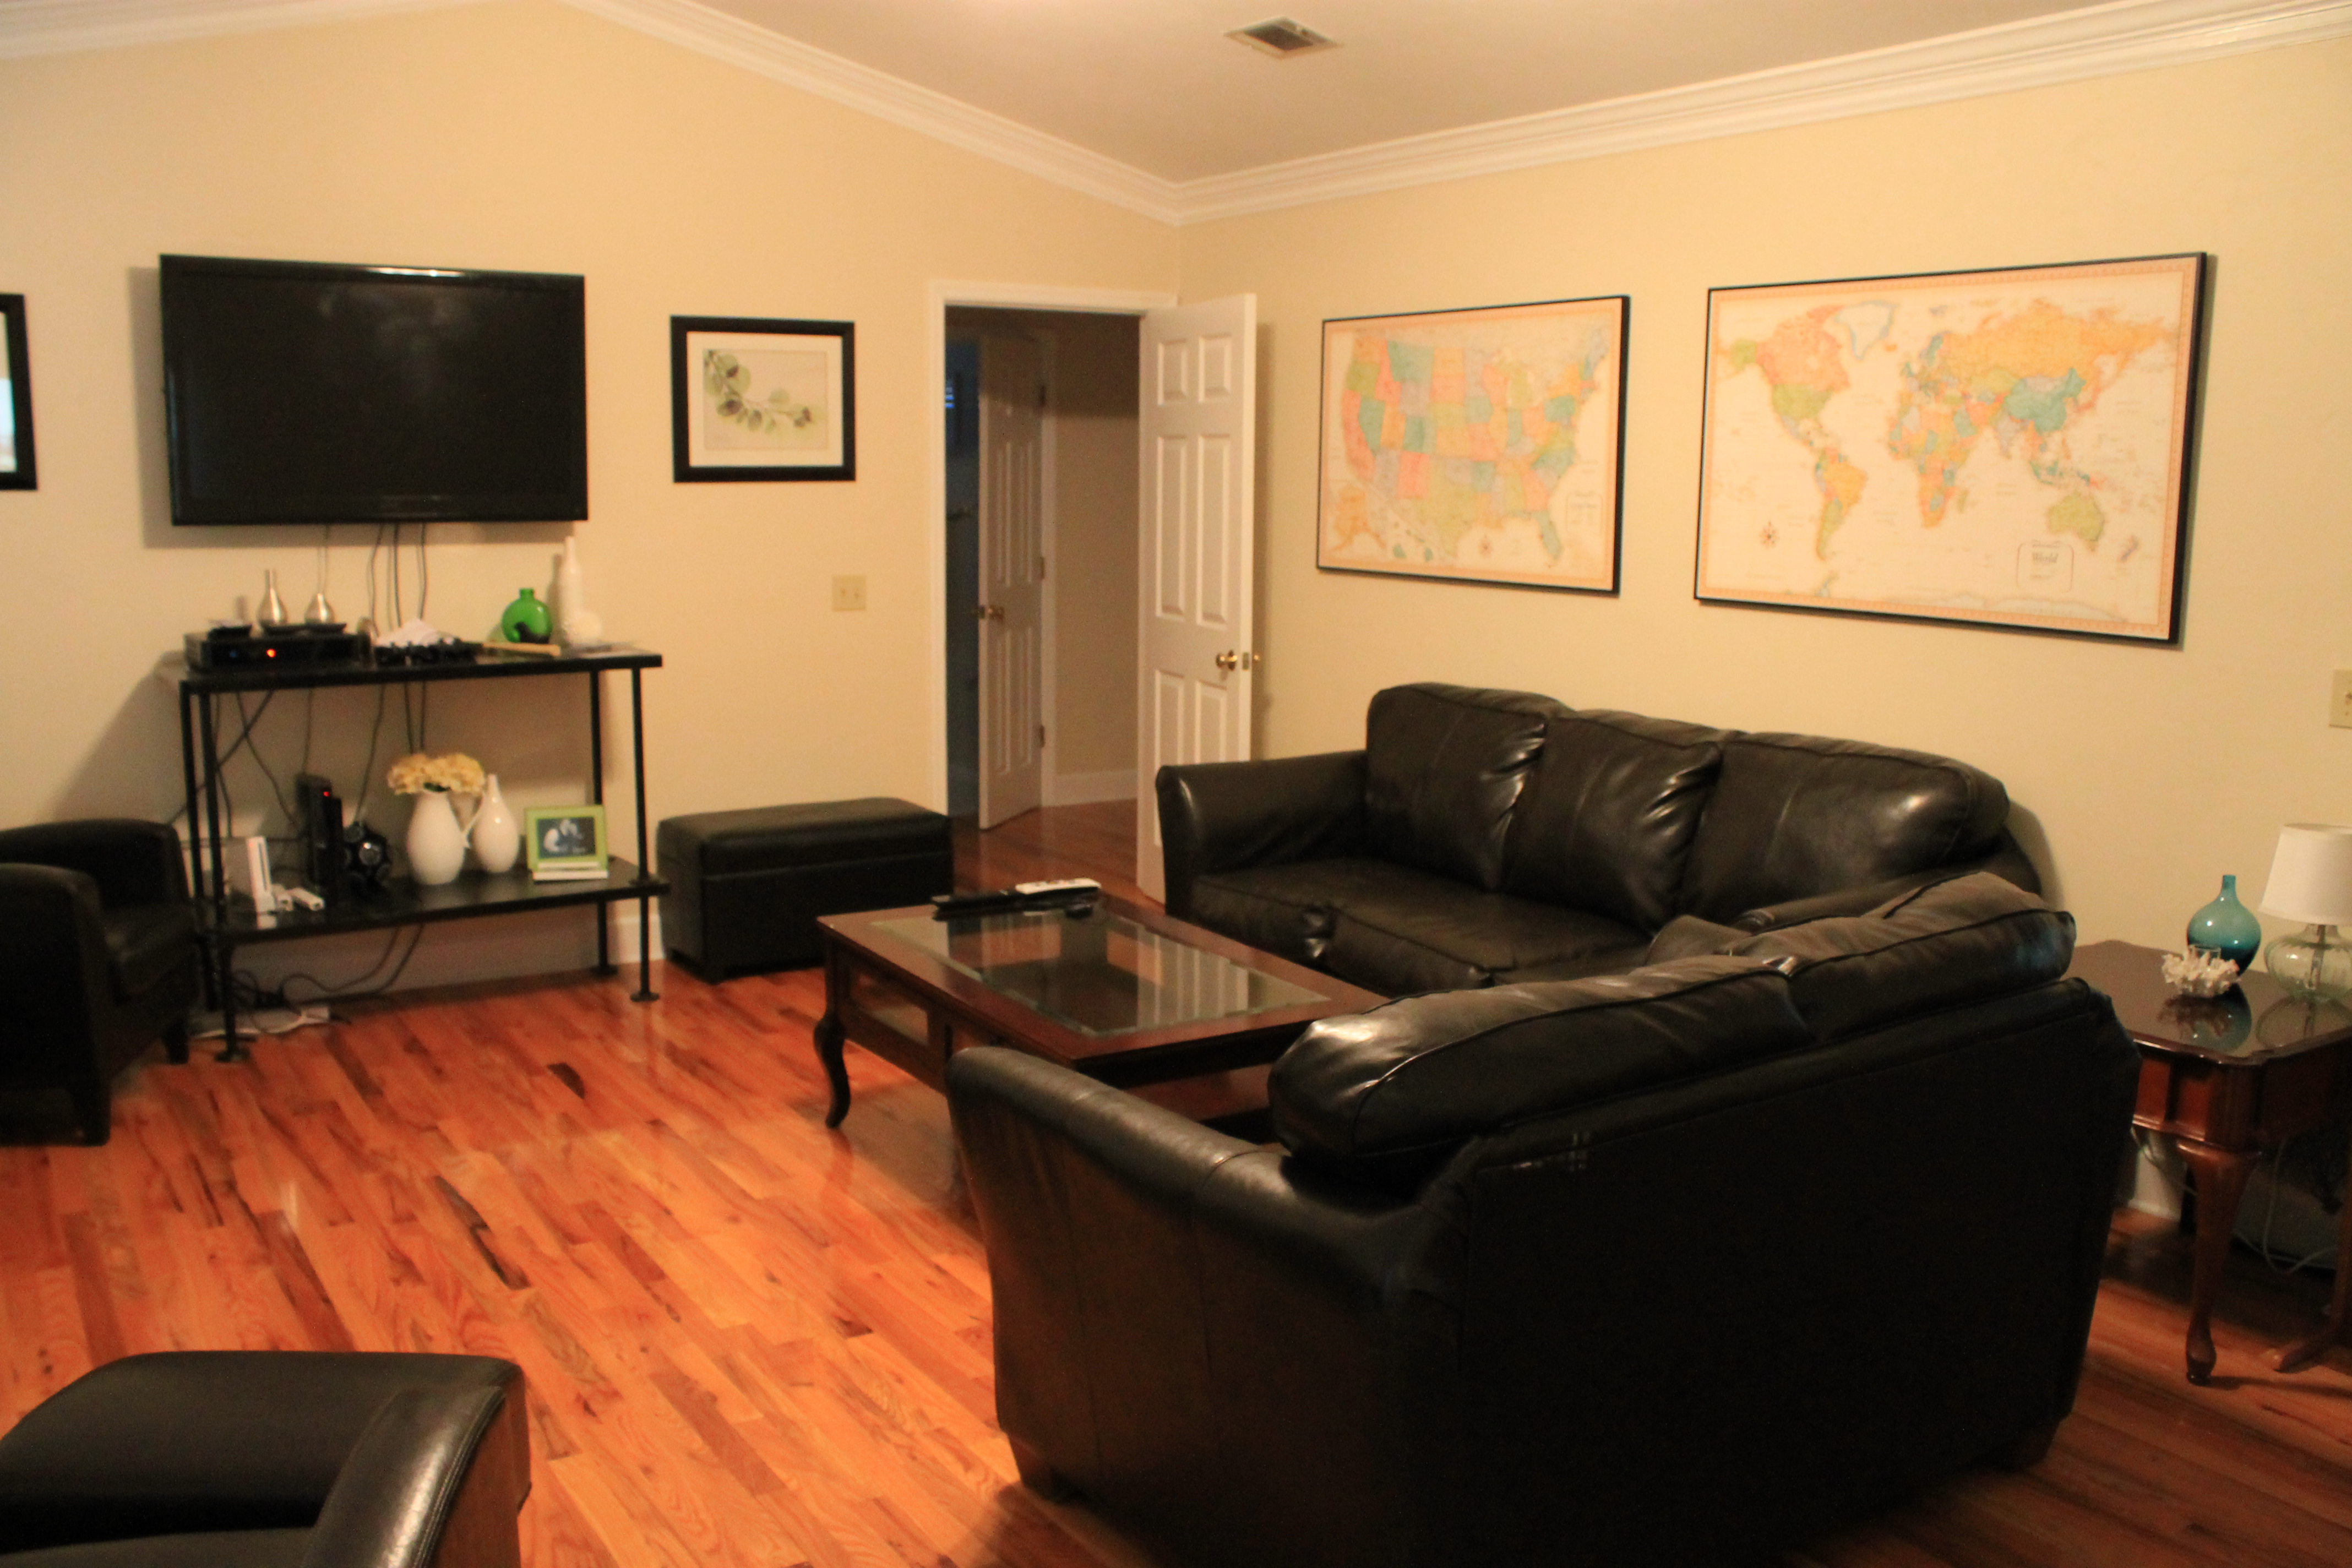
He’s was basically on bed rest only, and it drove him nuts. We have all hardwood floors and tile in our living areas (aka slippery surfaces), so we had to rearrange our living room, and create Astroturf and rug pathways. Our house looked really ridiculous for several months.

Astroturf pathway & Lady missing Chief while he had his surgery.
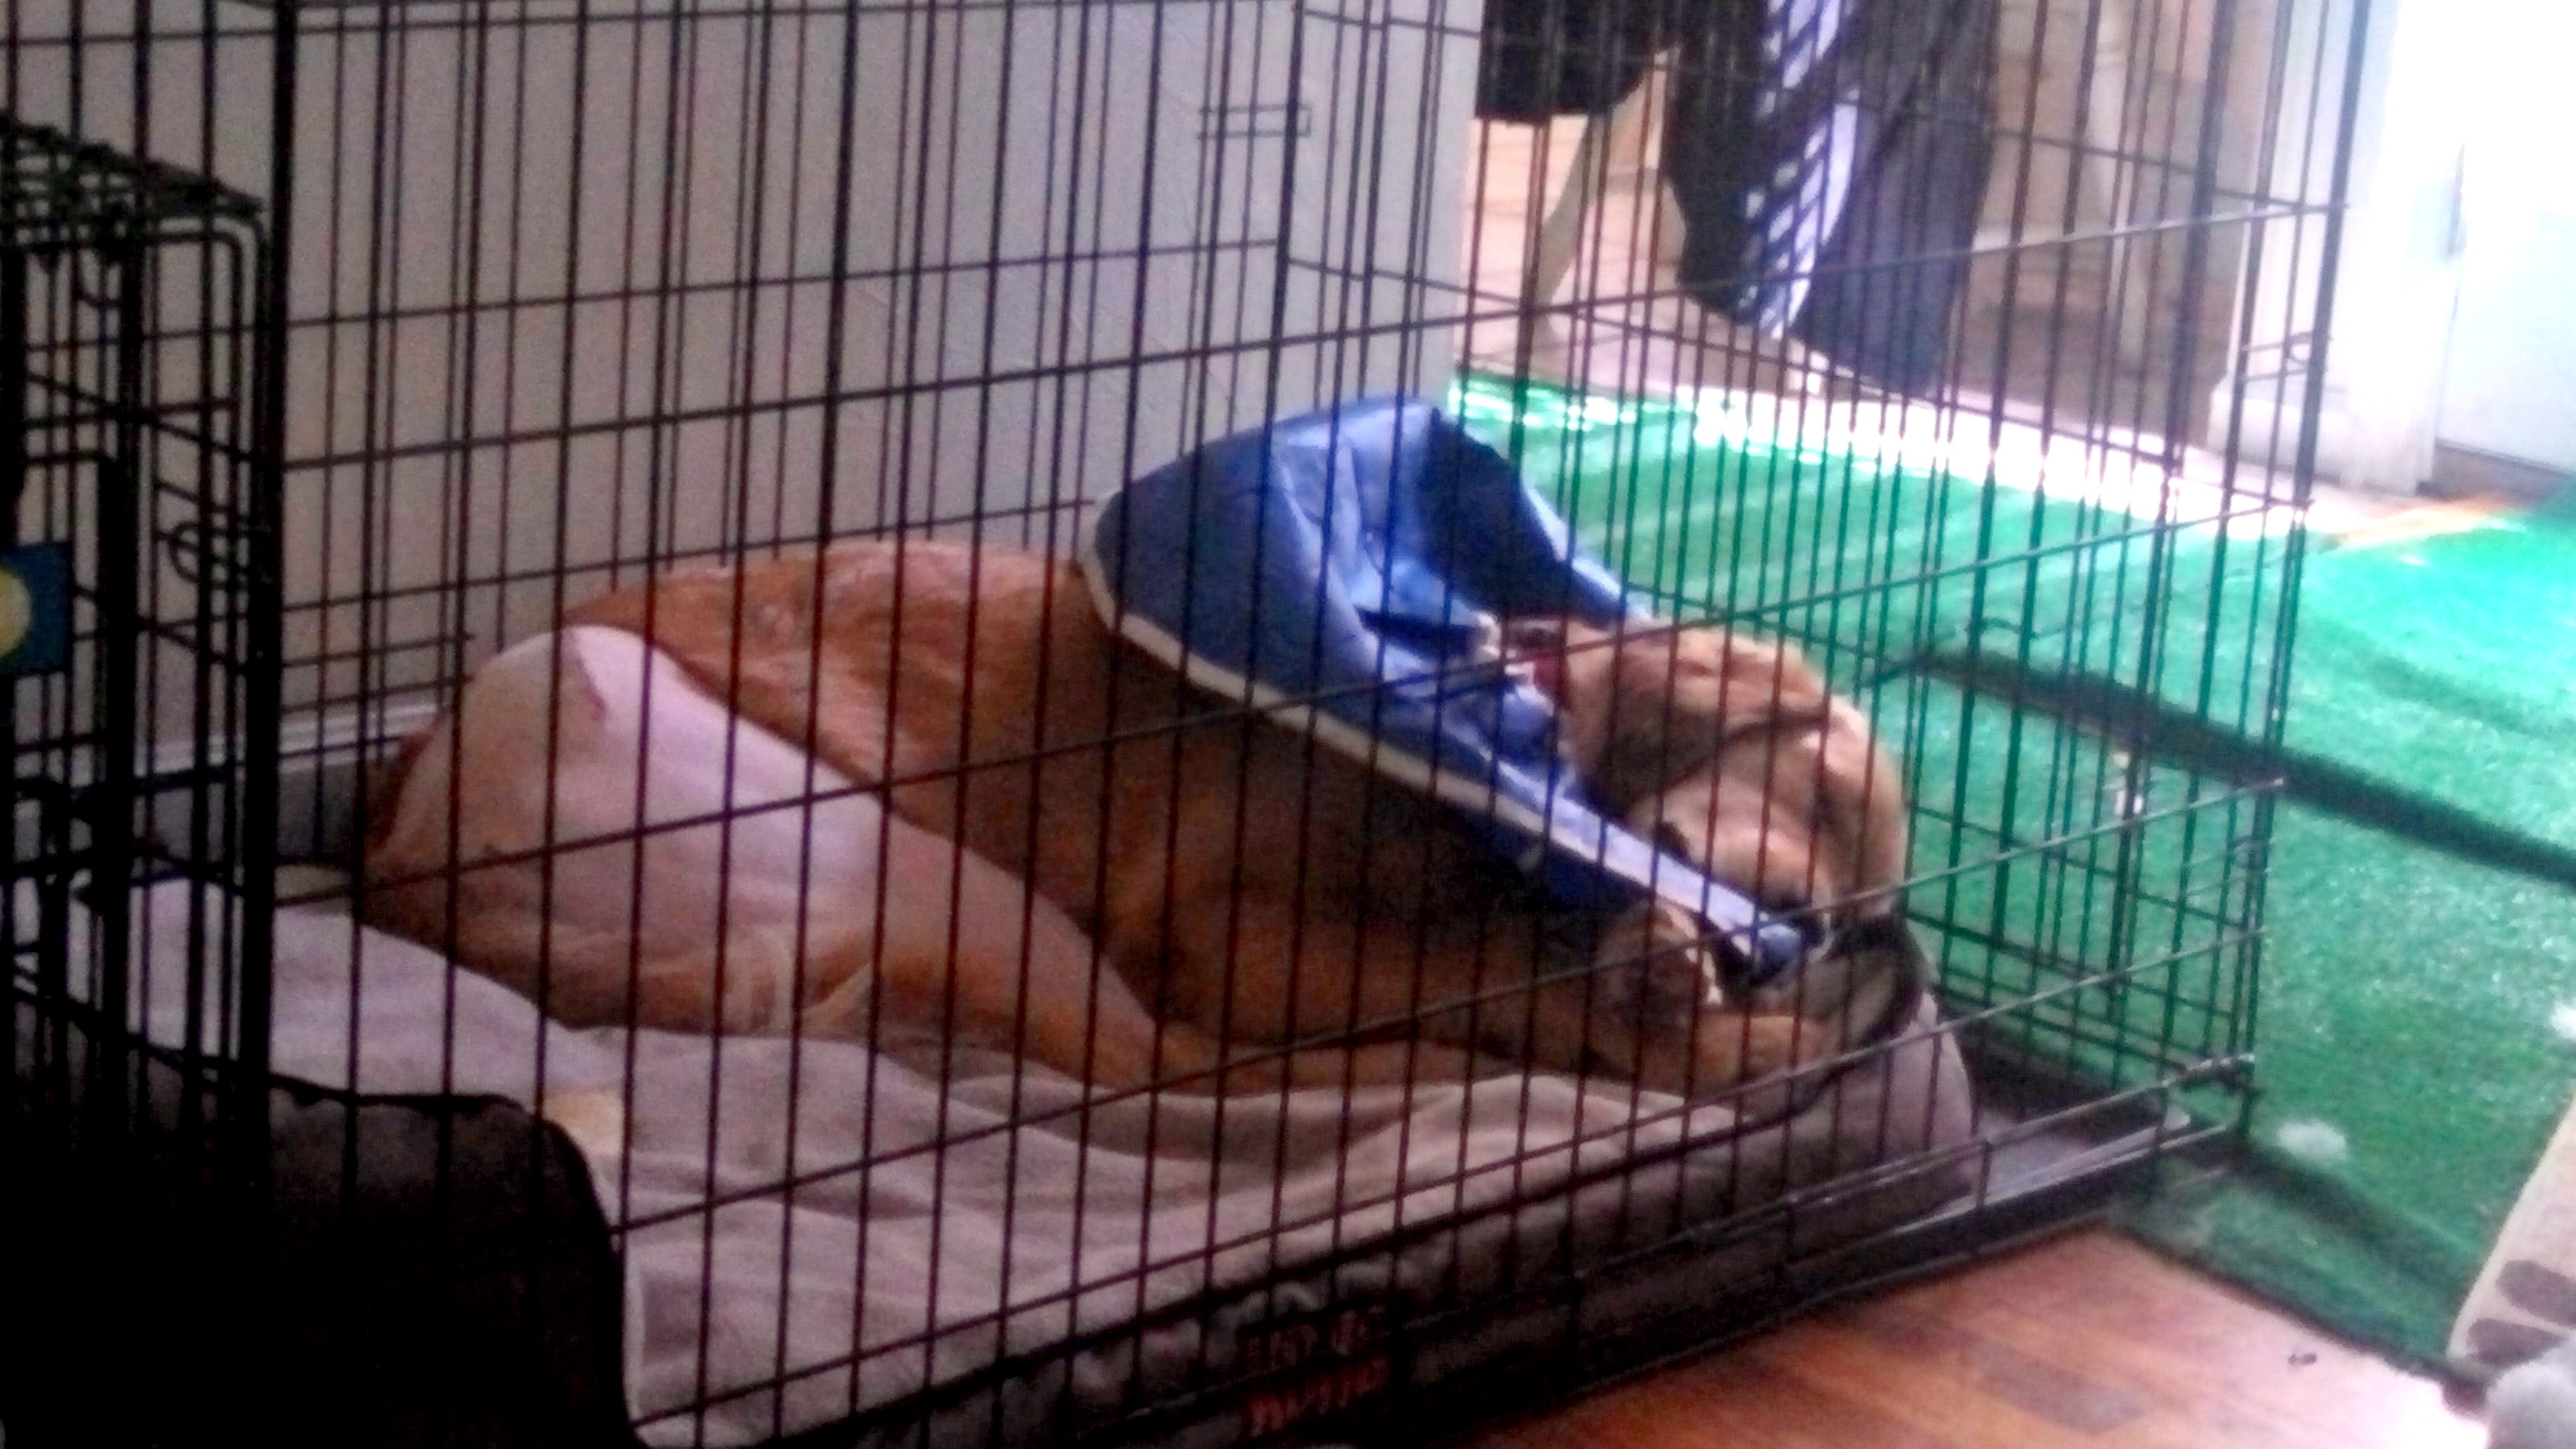
The first couple of weeks were hard. Lady didn’t understand why Chief was in his crate and couldn’t play and Chief couldn’t understand either for that matter…It was sad. I think that’s the hardest part about this surgery is that they really don’t understand. We worried that they would think it was some sort of punishment. Chief would have run around and never missed a beat from the day he came home if we’d let him, regardless of the pain. That’s why we had to stay strong, and follow the doctor’s orders.
At the 14 day follow-up the surgeon said he was impressed with Chief’s progress and that we were doing good. He was incredibly supportive, and patient with us while we asked him a million questions. It was at this appointment we had to make a decision as to whether or not we were going to sedate him or not. It wasn’t going well at home, Chief was barking and crying incessantly, and violently shaking his crate like he was in jail. Because we had no other way to prevent him from injuring himself and causing further damage, our surgeon strongly encouraged us to sedate him. I hate that we had to, but it was the only option to keep him safe. And while we definitely did our research and asked a ton of questions, in the end we were very lucky to not experience any negative side effects, and we pray there won’t be any long-term ones in the future, we’re quite aware that there are risks associated with every medication.
But as much as we hated it, it was the best option for our family. And later when he got stronger, the medication’s calming effects allowed for us to be able to let him have family time outside of his crate while he was still technically recovering. If we hadn’t had the medication it wouldn’t have been possible because he would have been uncontrollably bouncing off the walls. One day we accidentally forgot to give him a dose before we went to work, and this is what we came home to:

Chief the bed destroyer
Taking care of Chief post op was a real energy drain. It’s hard to explain, because looking back it really wasn’t THAT difficult, in fact it was really pretty easy, all things considered in the way of things that could have happened. But I think it was that it required a drastic change of routine, and a lot of emotional energy. Keeping the dogs separated was by far the worst part. Especially since we were all still adjusting to having Lady in our family when this all happened. I think if we had just had Chief, it would have been a lot easier on all of us. But we had Lady, so we did the best we could to keep everyone happy and healthy.
The 30 day check up went well. We celebrated being 1/3 of the way through the recovery. He had a new set of x-rays done to make sure that everything was setting properly, and the surgeon was happy with Chief’s progress. We were instructed to increase his activity level to 10 minute leash walks 2-3 times per day. Most of these were in the backyard because everything out in the world excited him too much. Also, you can imagine the funny looks we got walking a half bald dog around. I caught at least one person in their car pointing him out and chuckling.

30 day check up
He got stronger and stronger and acted like there was nothing wrong. He wanted so badly to run and play with Lady and to jump up on the couch and snuggle. Unfortunately none of these activities were allowed so we stuck to our guns. But he was showing progress, and we silently hoped that we’d go into our 60 day appointment and get the all clear for regular activity.
Unfortunately this did not happen. But he did get a good report, and the surgeon said the x-rays showed he was about 90% done, but that he still needed another 30 days before he could return to his normal activities. He could start having 20 minute leash walks 3 times a day now. We were all disappointed. Lady more than anyone I think. The last couple of weeks before he was cleared to play, she started refusing to go outside unless Chief could come with her. We had to drag her out to potty. And eventually she started not even wanting to come out of her crate. She was officially on strike. It was really sad.

Lady on strike
I’d be lying if I said there were a couple of times that we didn’t crack in this last 30 day stretch and let them play together in the Man Cave since it was a small contained area, and it was carpeted. They probably played harder than they should have but we did our best to keep it controlled, and we were lucky we didn’t have any consequences.
At the 90 day visit, the surgeon patted Chief on the head, gave me a hug, and told me we all did great! He said Chief could return to normal activity and that he had healed. I swear Chief understood him too! That night when they played, I think may have been the happiest day of their lives!

We celebrated Chief’s belated 1 year birthday that weekend, and took them for a quick hike at the greenway near our house, and did lots of playing that weekend.

The surgery was tough, but worth it now that it’s all over. On the one hand I’m sad that he wasn’t able to have the left hip done because it does cause him some pain (particularly at night). But we are a little relieved that the decision was made for us, since that hip was not eligible in the end. It would have been a longer recovery (and we just barely made it out with all of our sanity) and lots more money, so it was a blessing in disguise I guess. He takes an anti-inflammatory at night, that seems to help, and the vet says that once the scar tissue builds up around the hip socket that he won’t have as much pain until much later in life. But he was optimistic that there is a good chance that it may never cause him problems, or that if it does there are medicinal interventions we can pursue, or we can always have the total hip replacement done when and if it does cause him problems. Time will tell, but in the meantime we plan to keep him active, and lean and hopefully that will keep him healthy as long as possible.

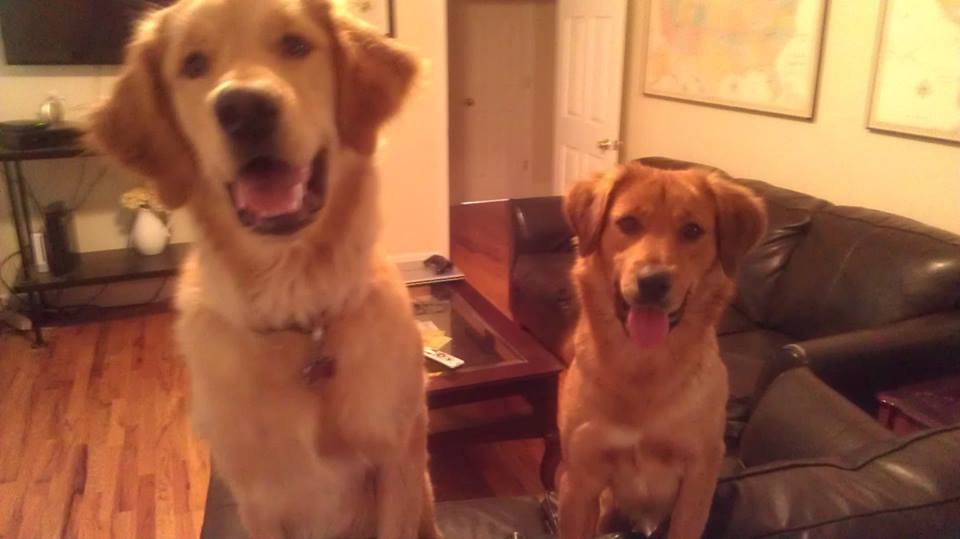
My boys 🙂

 Which actually as I type this I realize that this set has significantly gone down in price since we first looked at it, so it may go back on our list in the not so distant future as more of an option. Especially if we doctored it up to look like a built-in unit. But even with the drop in price, at $750 it is still out of our budget for now.
 I wanted to paint it a fun bright color like turquoise. It was a free dresser, we could take some risks. But Joey promptly shot that down and told me I should paint it white or black. The man has trouble “seeing” my vision…but to be fair, I’m glad he reigned me in because the end result works so much better for our house and the space.
 There’s about a quarter inch gap in between the dresser and the legs. Womp Womp. The issue is the hardware. Because this dresser did not have screw in legs, we had to buy a special hardware that would attach it but it had a raised configuration so there was really no way around it.
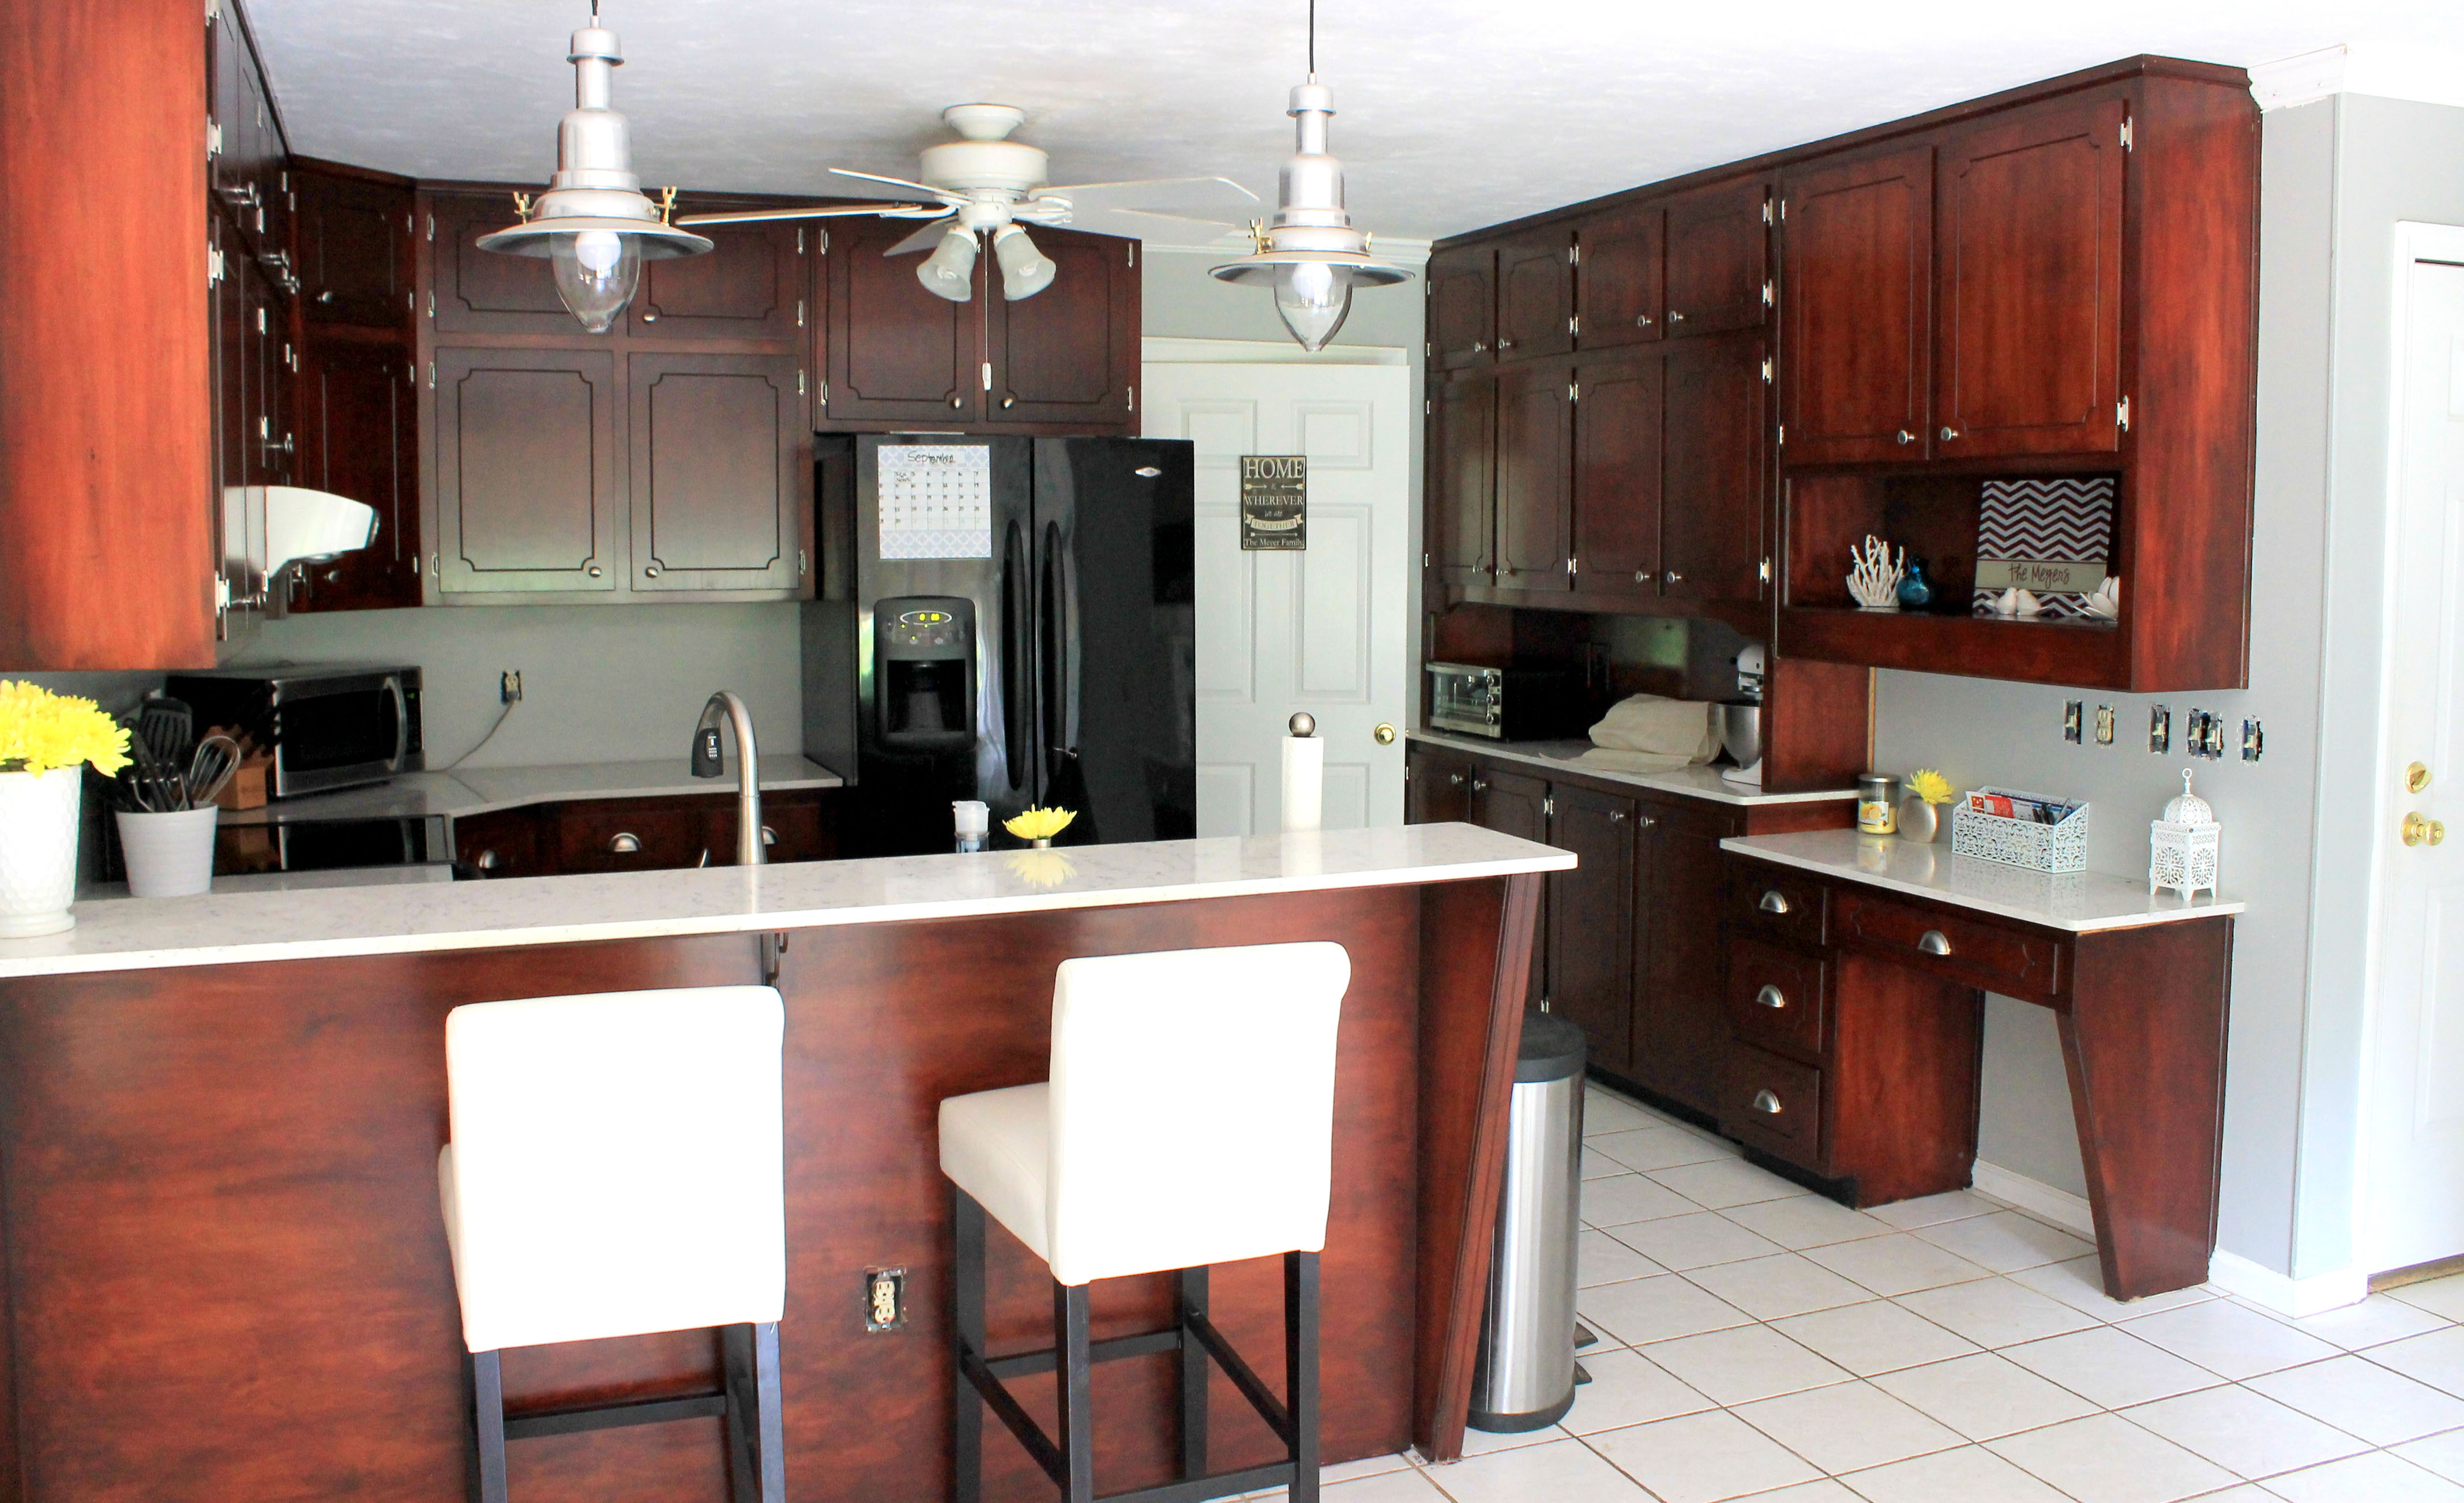
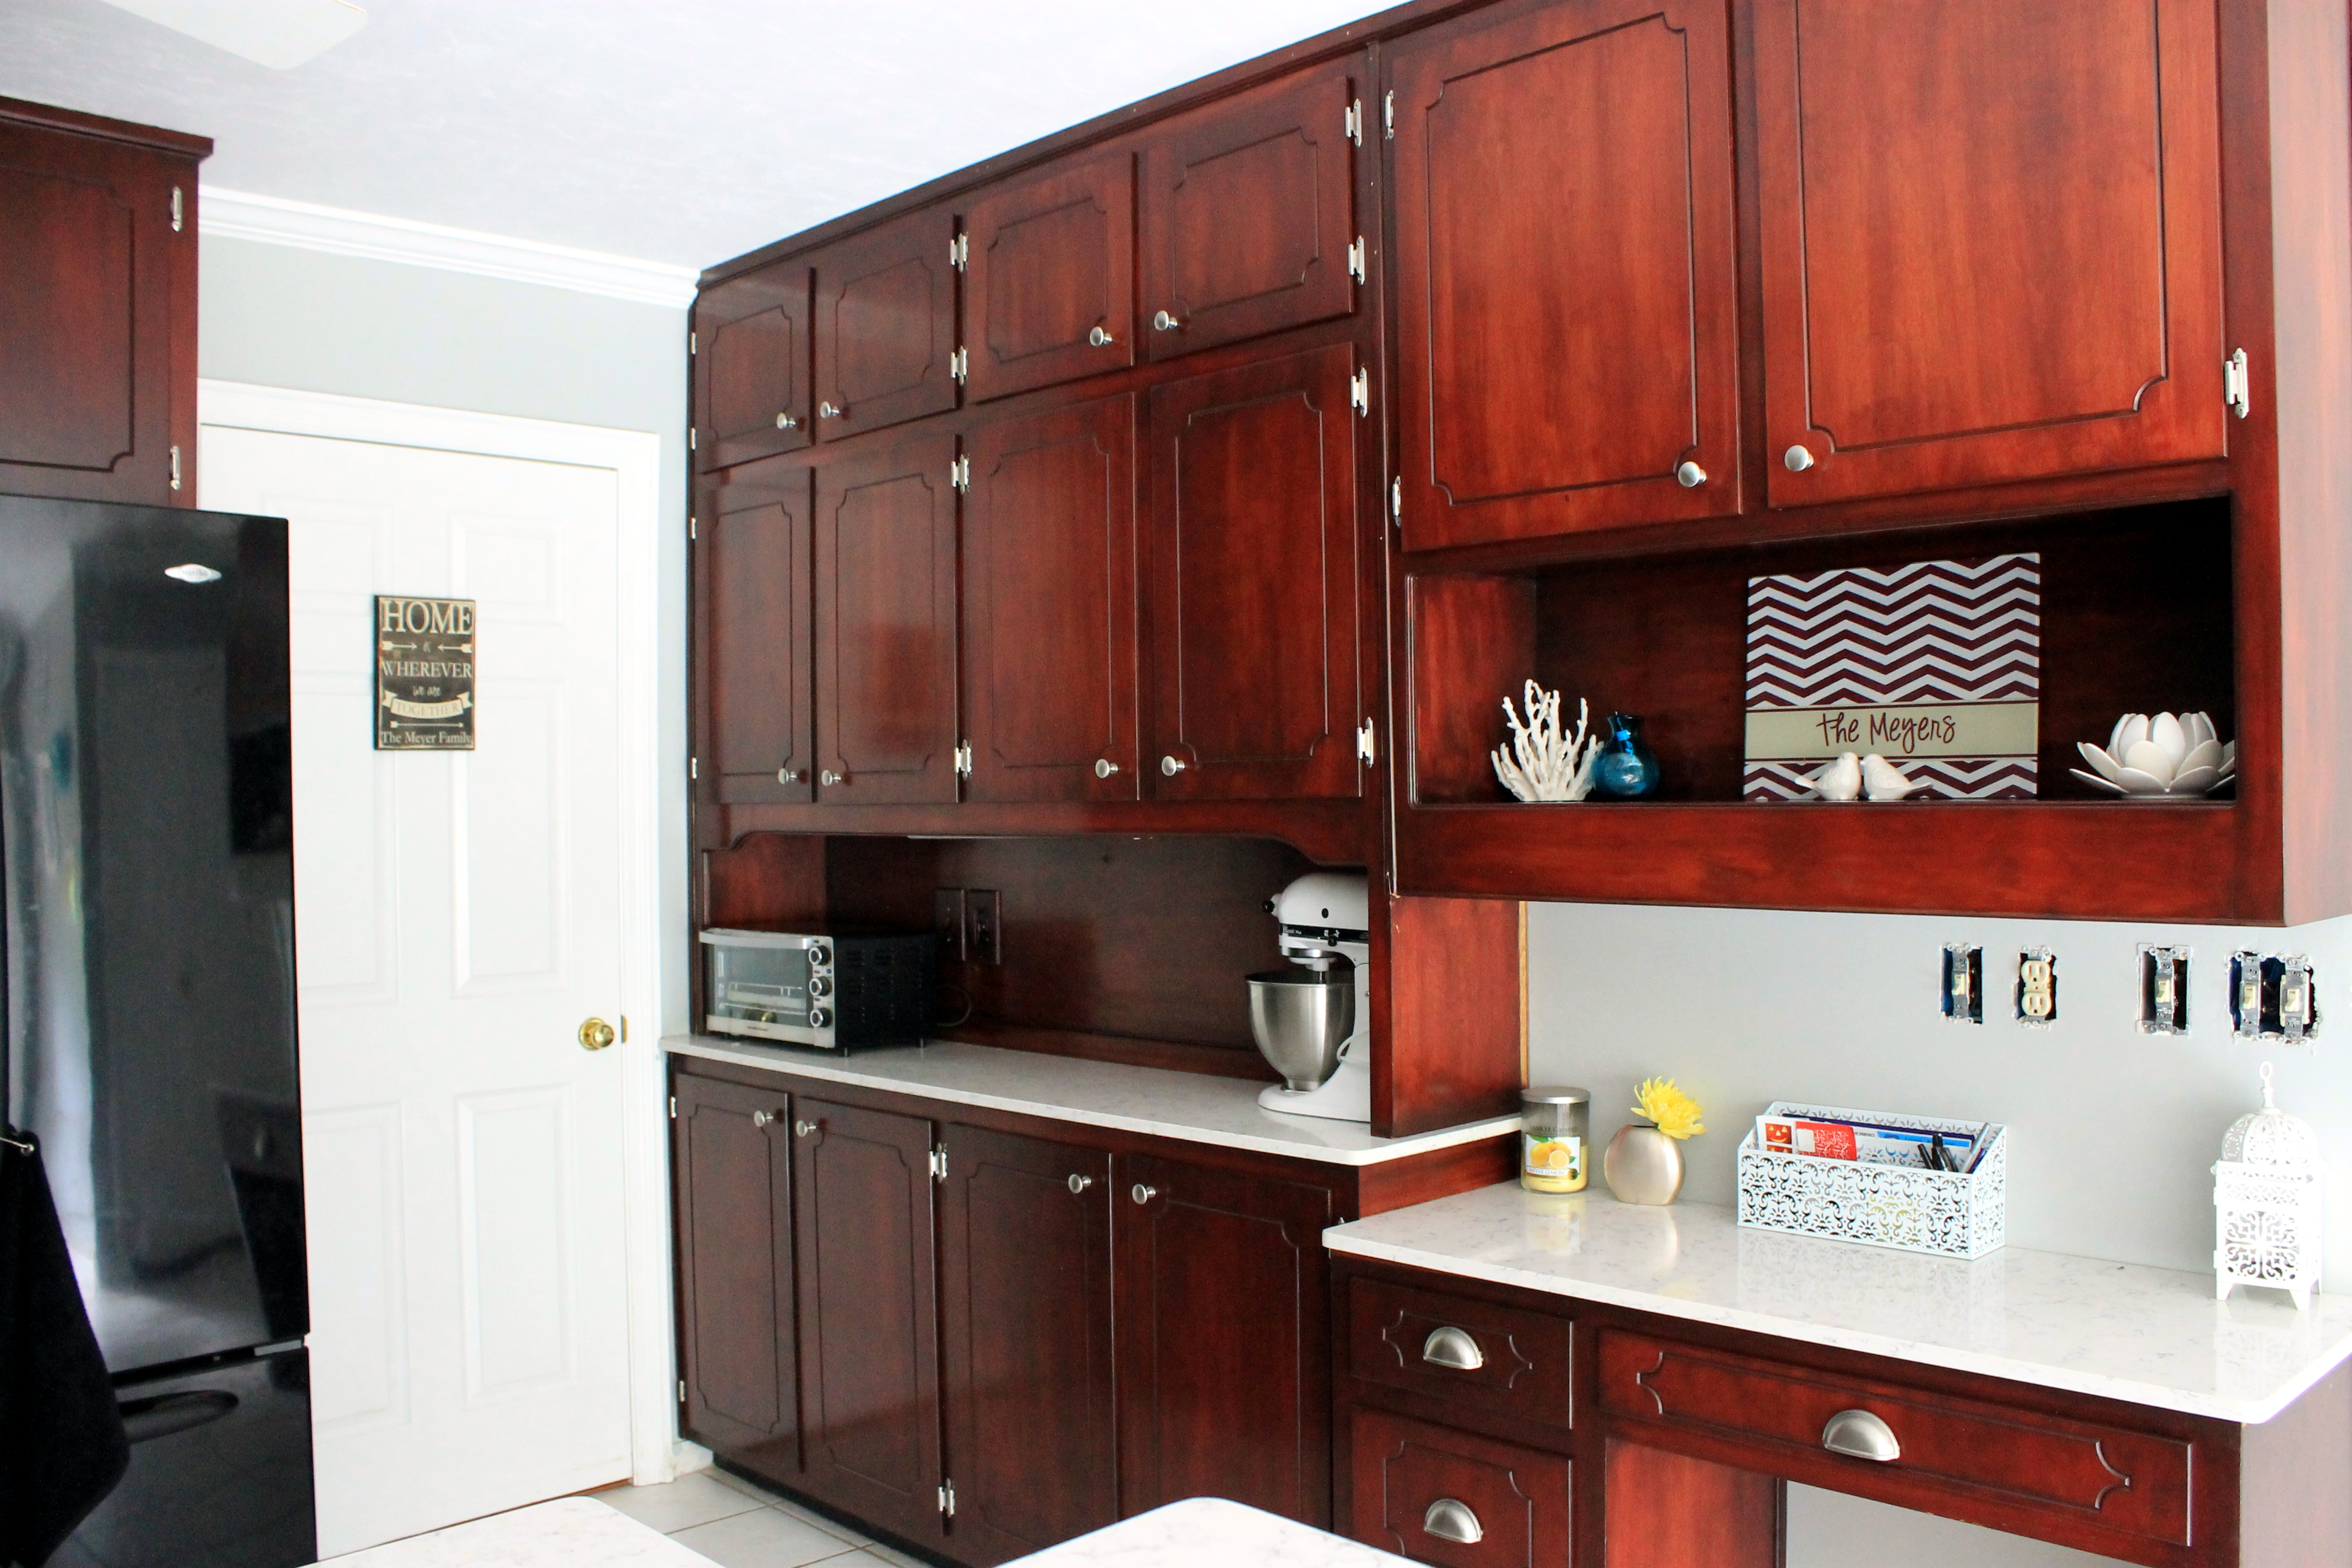
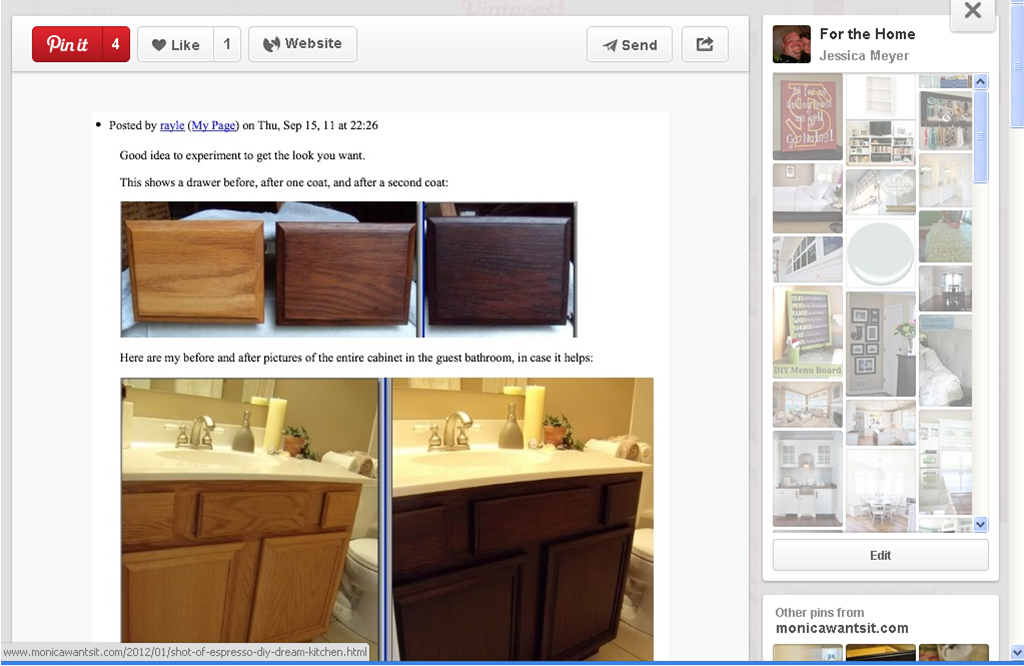
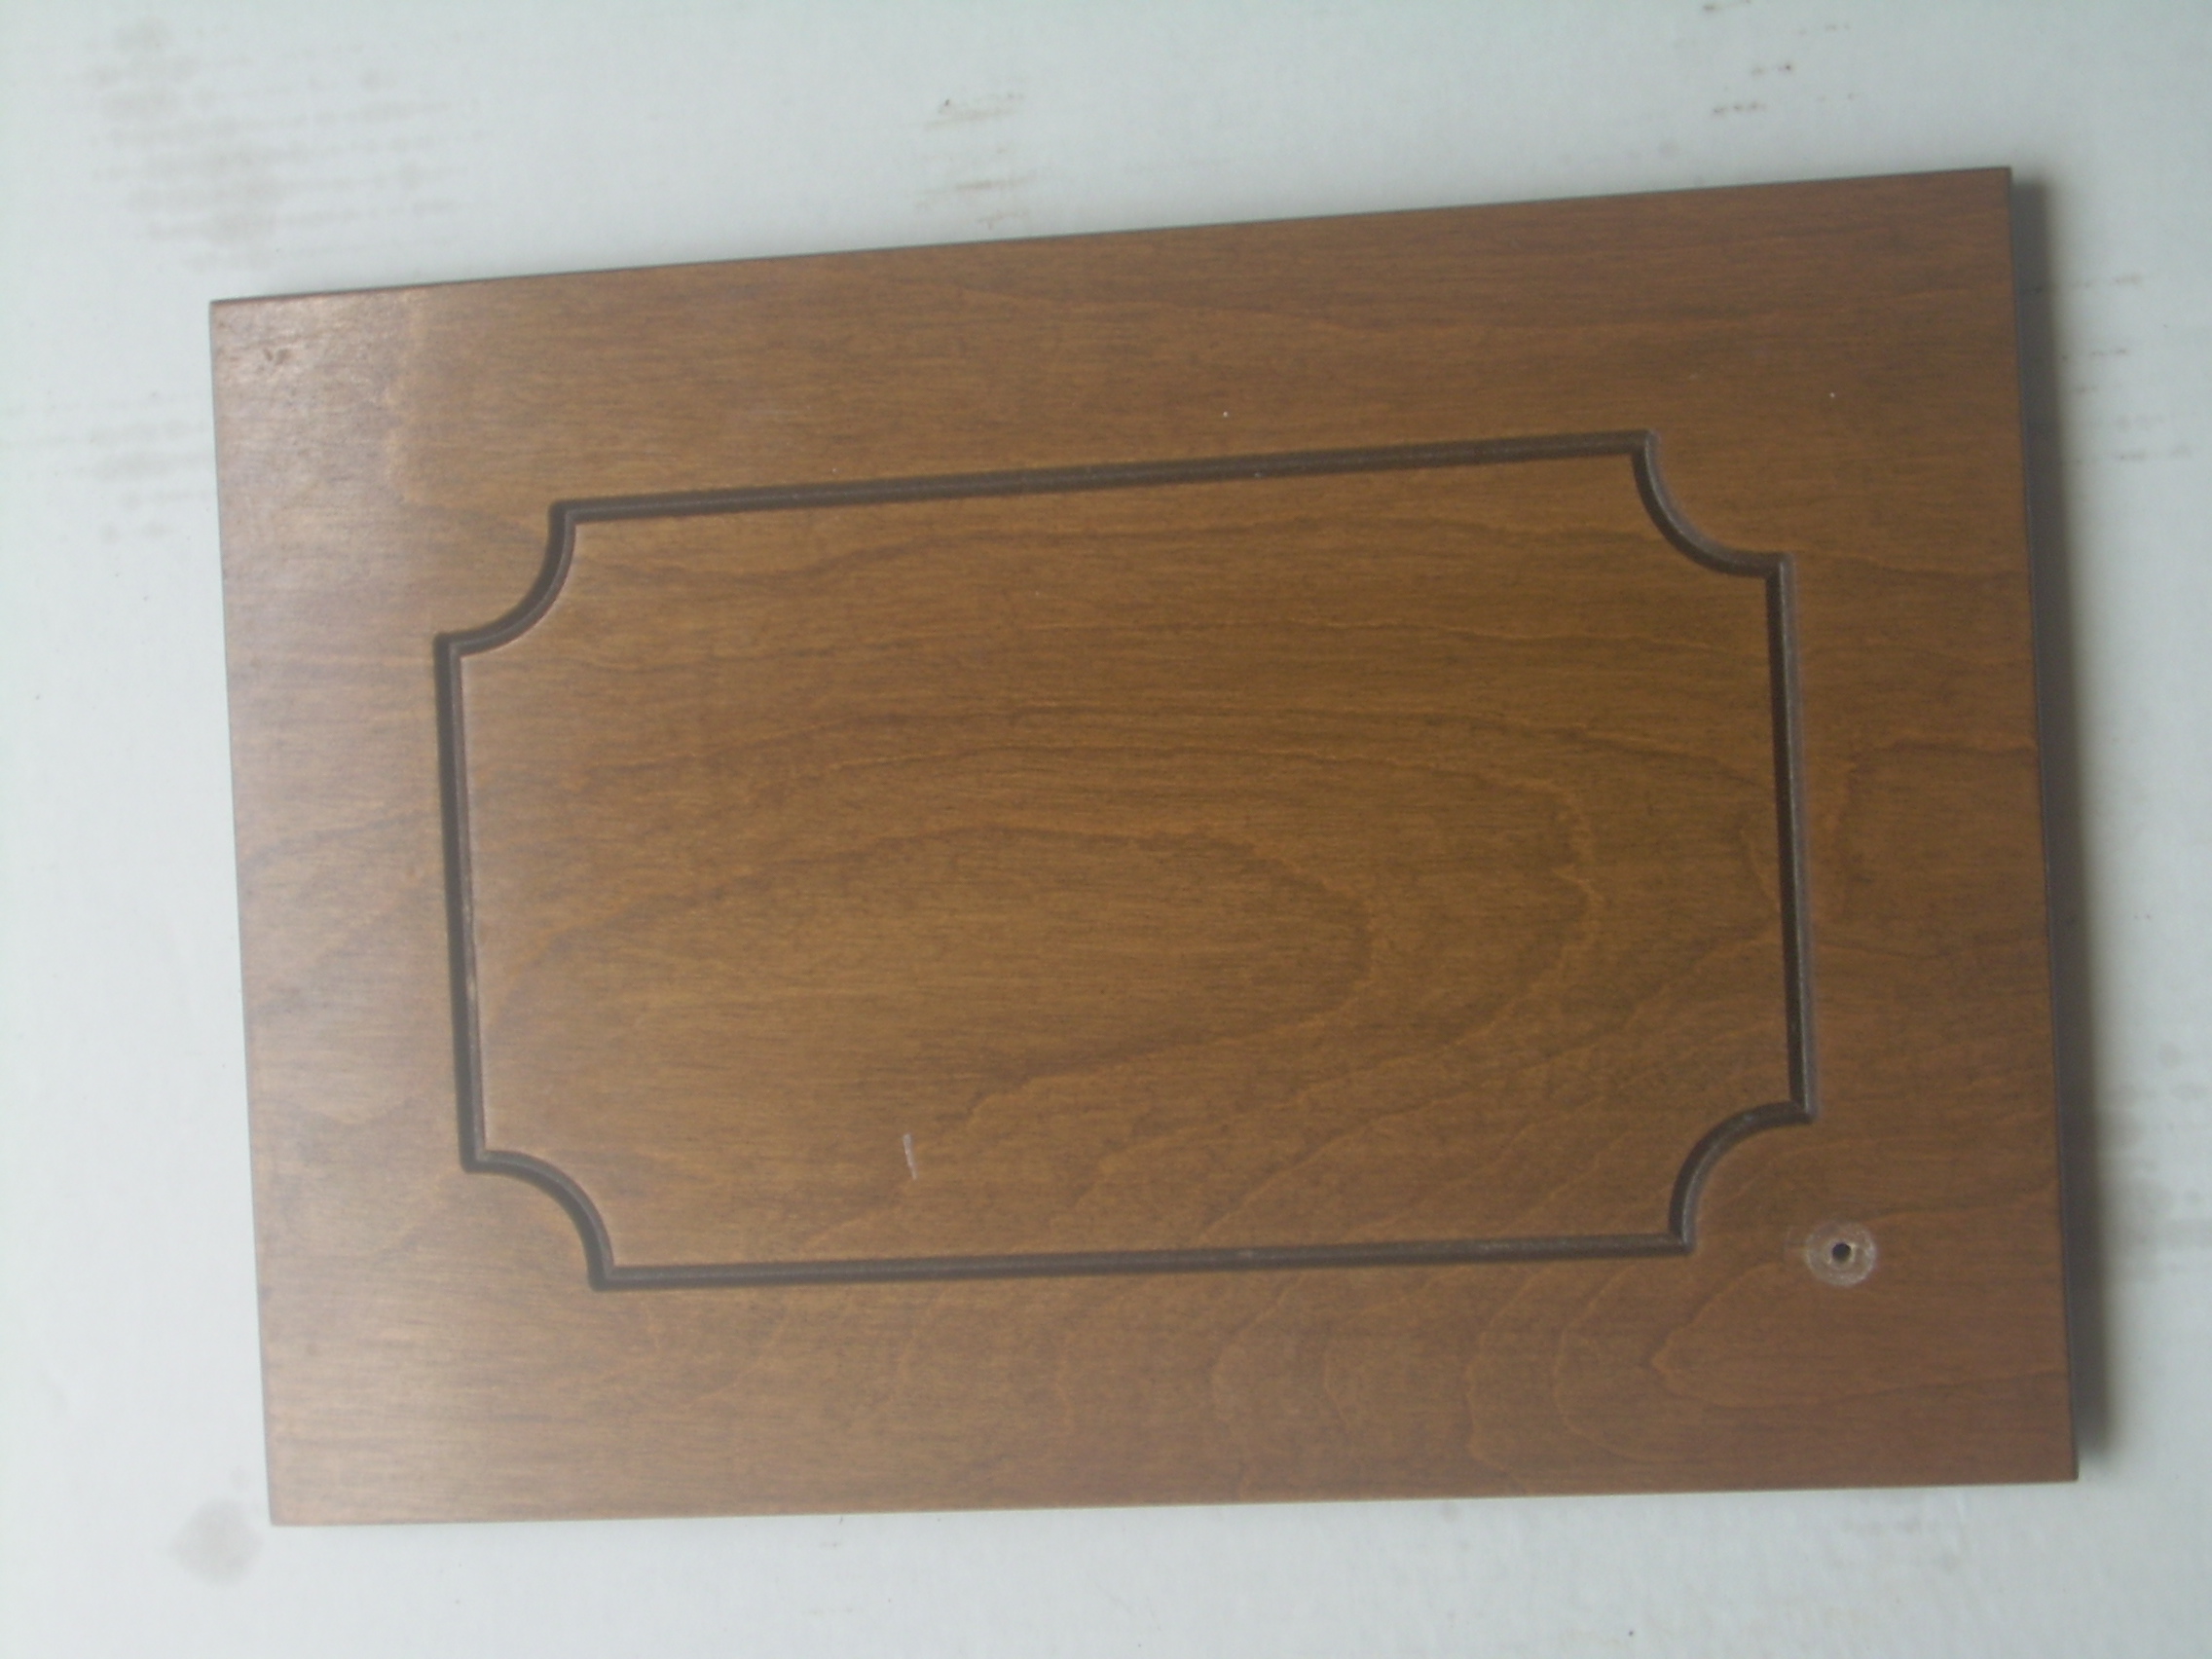
 Here it is with a fresh coat of white paint, and the first coat of gel stain. You can find out more about this magical gel stain from my kitchen cabinet post here.
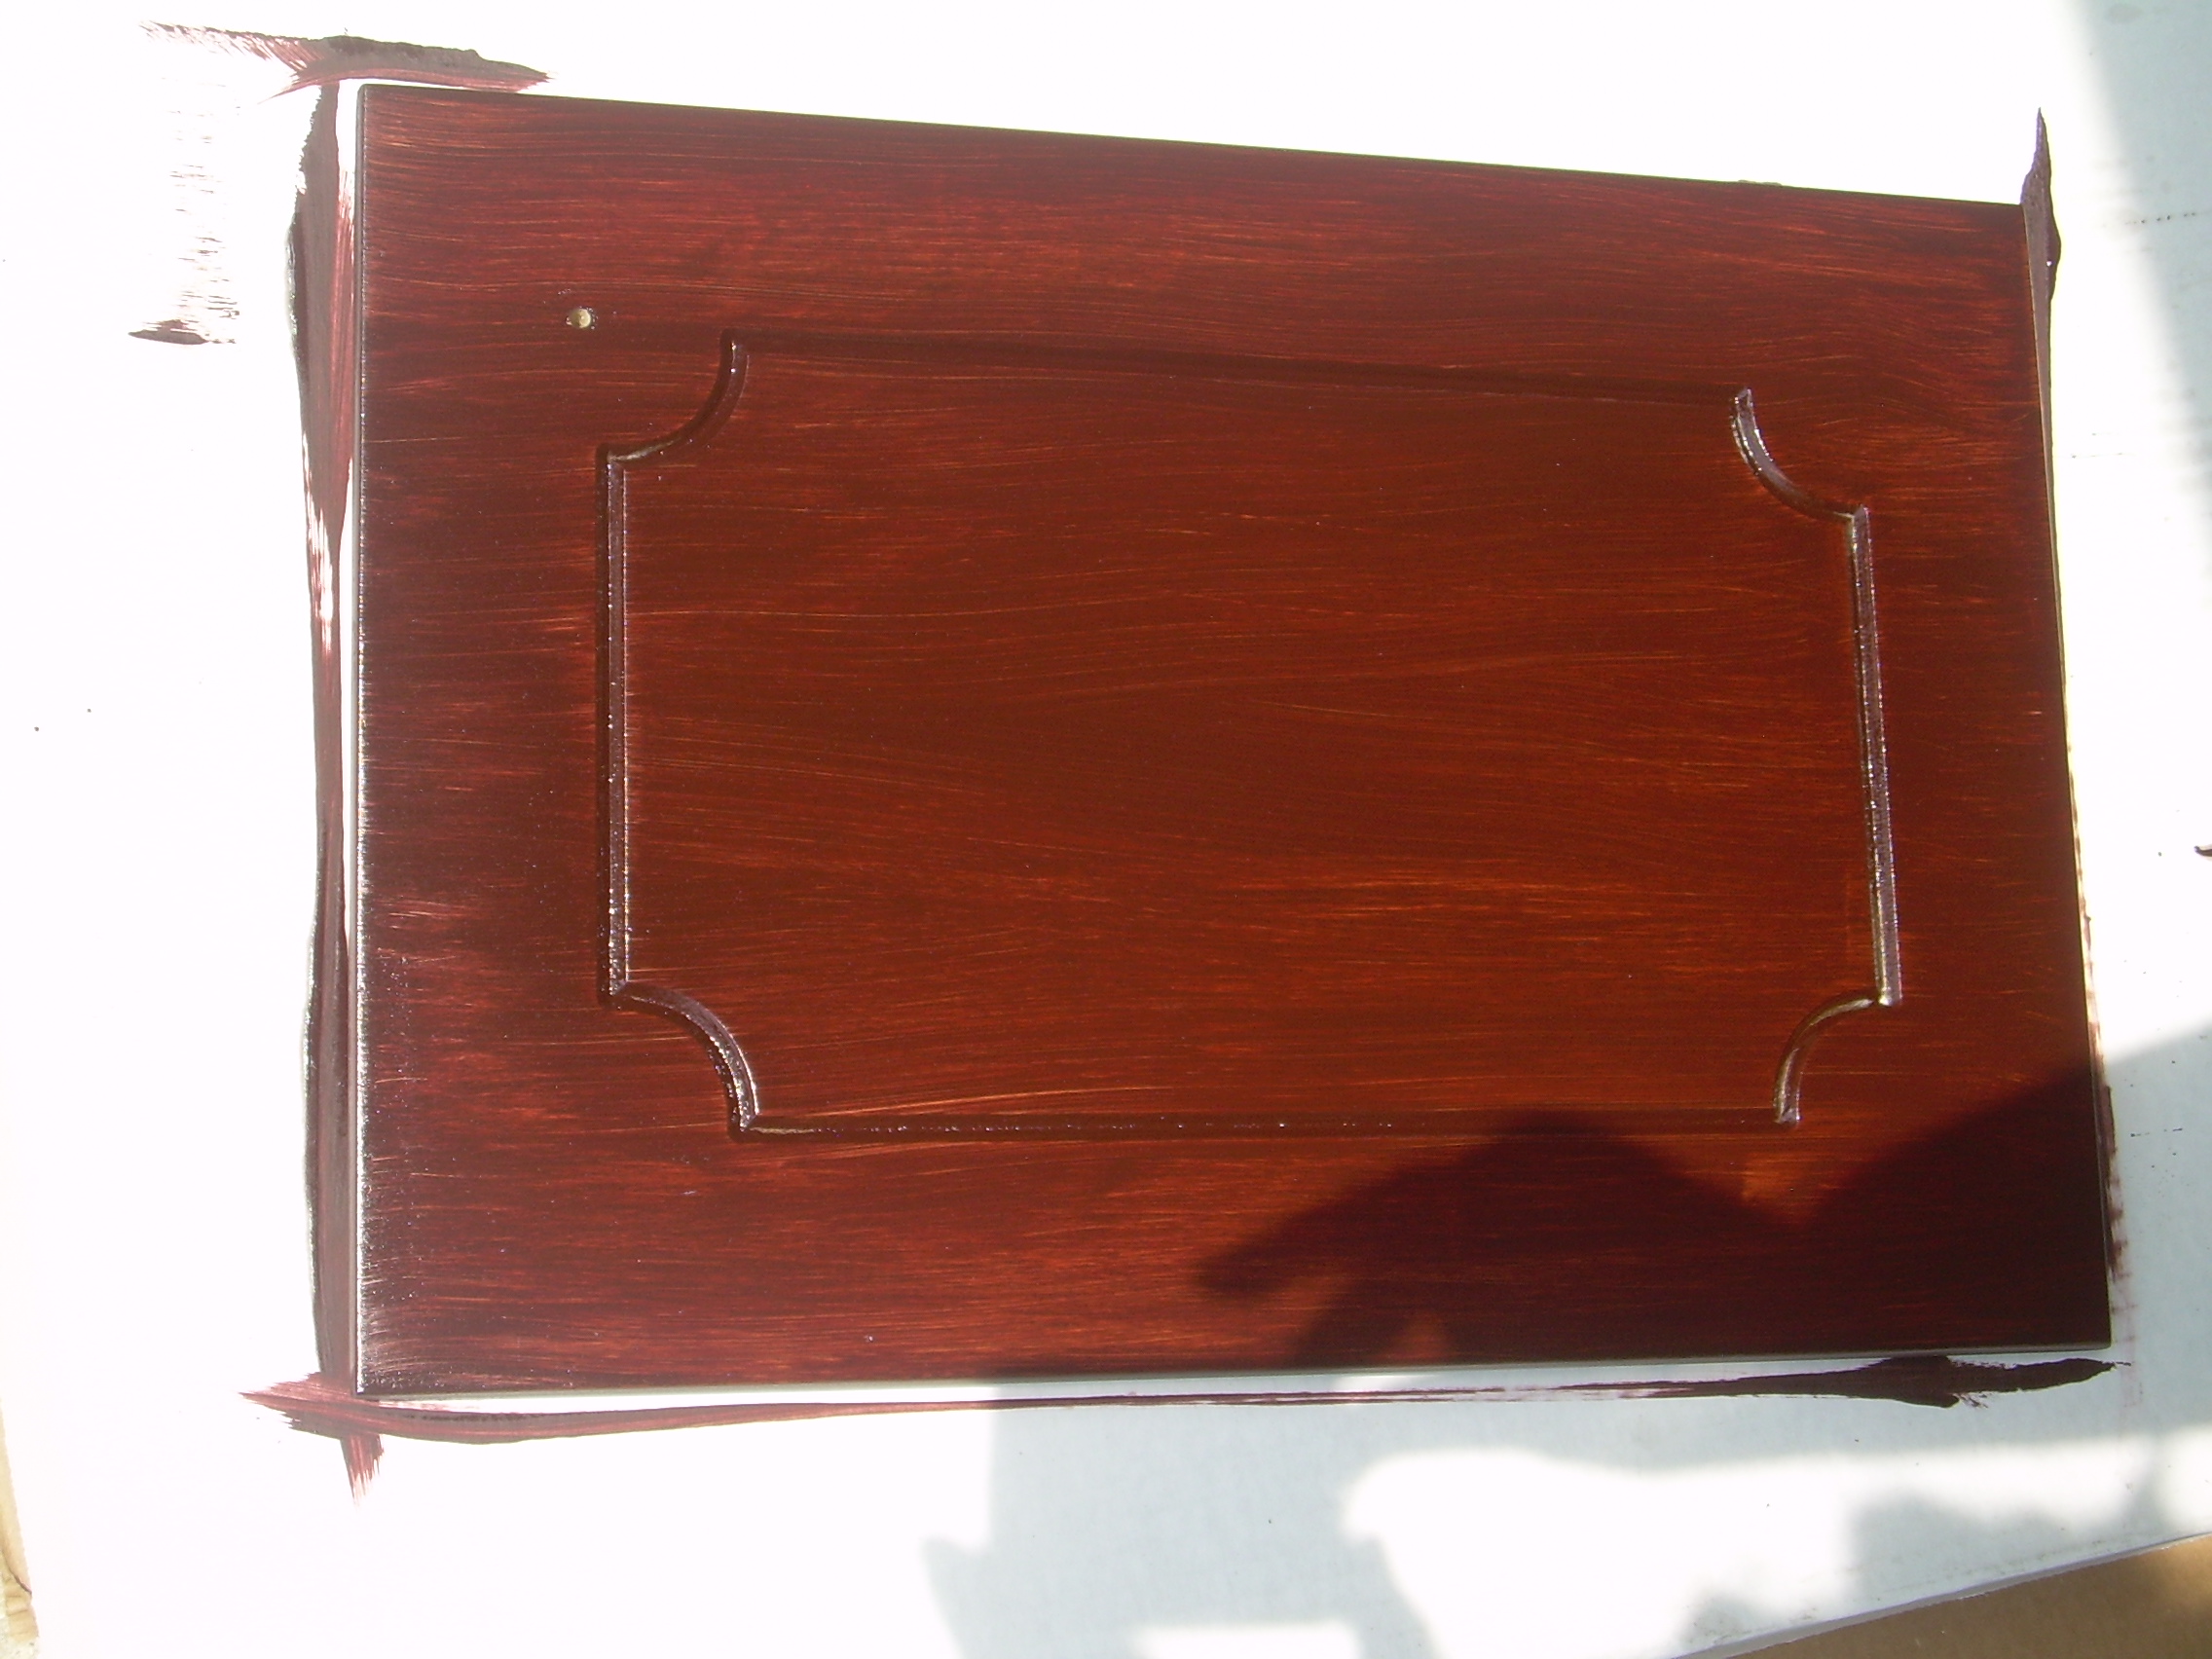
 Still the first coat, but you can see how uneven it is and streaky. Some of this is from the brush strokes that were already there, but some of it is just because that’s how the first coat of this stain looks.